Courage Test Clarity for Beginners

Courage Test Clarity for Beginners
The courage test is one of the most talked about moments in protection sport. For many beginners it can also be the most confusing. At Smart Dog Training we make the courage test clear, fair, and safe so your dog learns to meet pressure with confidence and control. Guided by a certified Smart Master Dog Trainer SMDT you will see how structure and motivation help your dog succeed without chaos or conflict.
If you are new to the courage test you might picture a fast run toward a helper and a strong finish. That is part of it. The real aim is deeper. We want a dog that understands the job, makes good choices, and stays clear under pressure. Smart achieves this with the Smart Method, a progressive system built on clarity, pressure and release, motivation, progression, and trust. In this guide I will walk you through what the courage test is, why clarity matters, and how beginners can build the right foundations step by step.
What Is the Courage Test in Dog Training
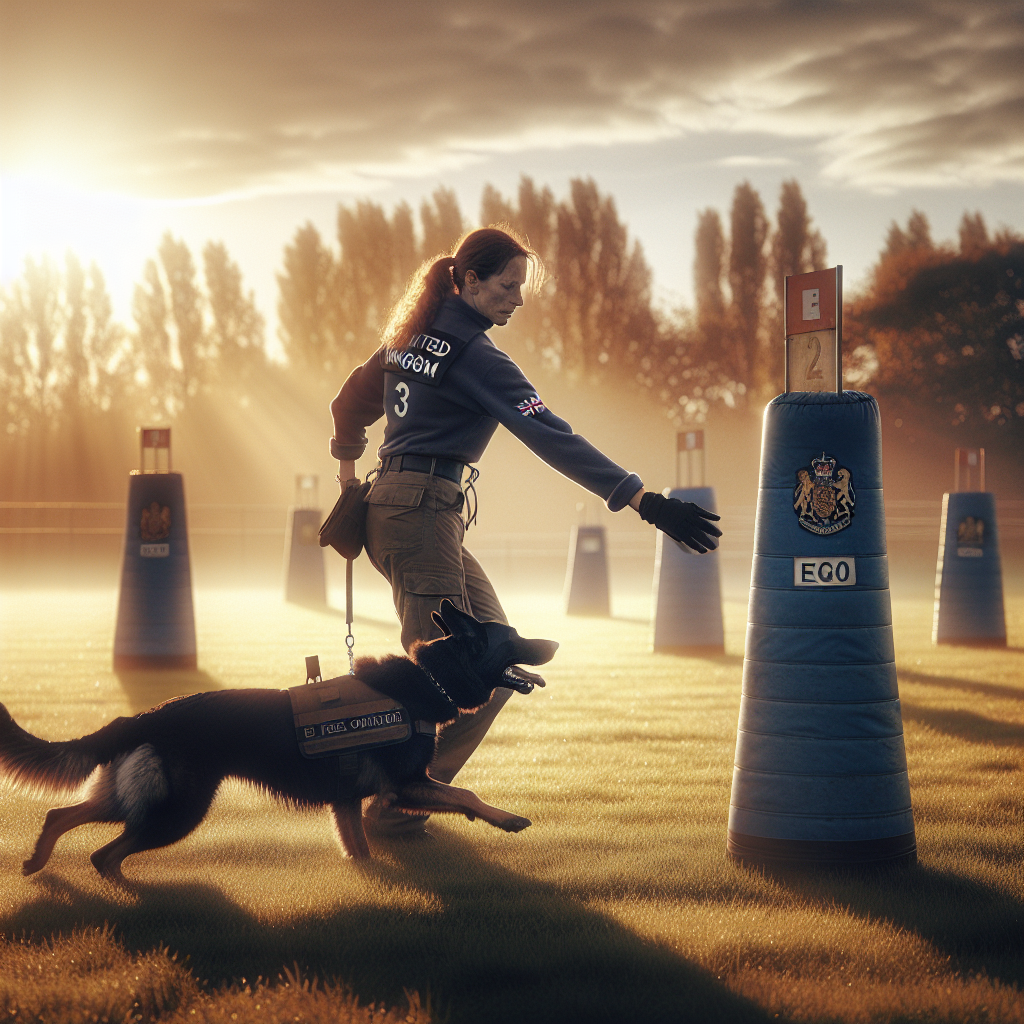
The courage test is a high arousal scenario in protection sport where the dog must commit to a closing helper while staying under handler control. In IGP this often means a long approach known as the long bite, a firm grip, and a clean out on command. To be clear, Smart Dog Training focuses on the whole picture. We teach the courage test as a test of clarity first. The dog should understand when to go, where to go, what to do, and when to release. That is how you get safe and reliable work for sport or advanced obedience pathways.
Why Clarity Matters More Than Bravado
Many beginners think the courage test is about getting the dog hyped up. Hype without clarity leads to spinning, misfires, missed grips, and handler frustration. Clarity makes the courage test calm and predictable for the dog. Clear cues, clear markers, fair pressure, and a clean release build trust. When the dog knows the picture the dog can push through pressure with confidence and still listen. That is the Smart way.
The Smart Method Framework for the Courage Test
Clarity
We teach one cue for send, one for hold, one for out, and one for return. The courage test stays the same picture every time so the dog can identify the job at a glance. Precision is kindness.
Pressure and Release
Fair pressure guides the dog to the right answer. Timely release tells the dog yes that was correct. In the courage test this keeps the dog accountable without conflict. The dog learns to drive forward and then settle when told.
Motivation
We use high value rewards and meaningful work as reinforcement. For the courage test, the reward can be the bite itself paired with food or toy reinforcement in early steps. Motivation keeps the dog eager and engaged.
Progression
We layer skills from simple to complex. Before the full courage test we teach approach mechanics, targeting, grip, and the out. We then add distance, speed, noise, and helper pressure one piece at a time.
Trust
Every session protects the relationship. The dog should feel safe, guided, and successful. Trust is what makes the courage test a confident expression of training rather than a gamble.
Foundations Before You Attempt the Courage Test
Engagement and Focus
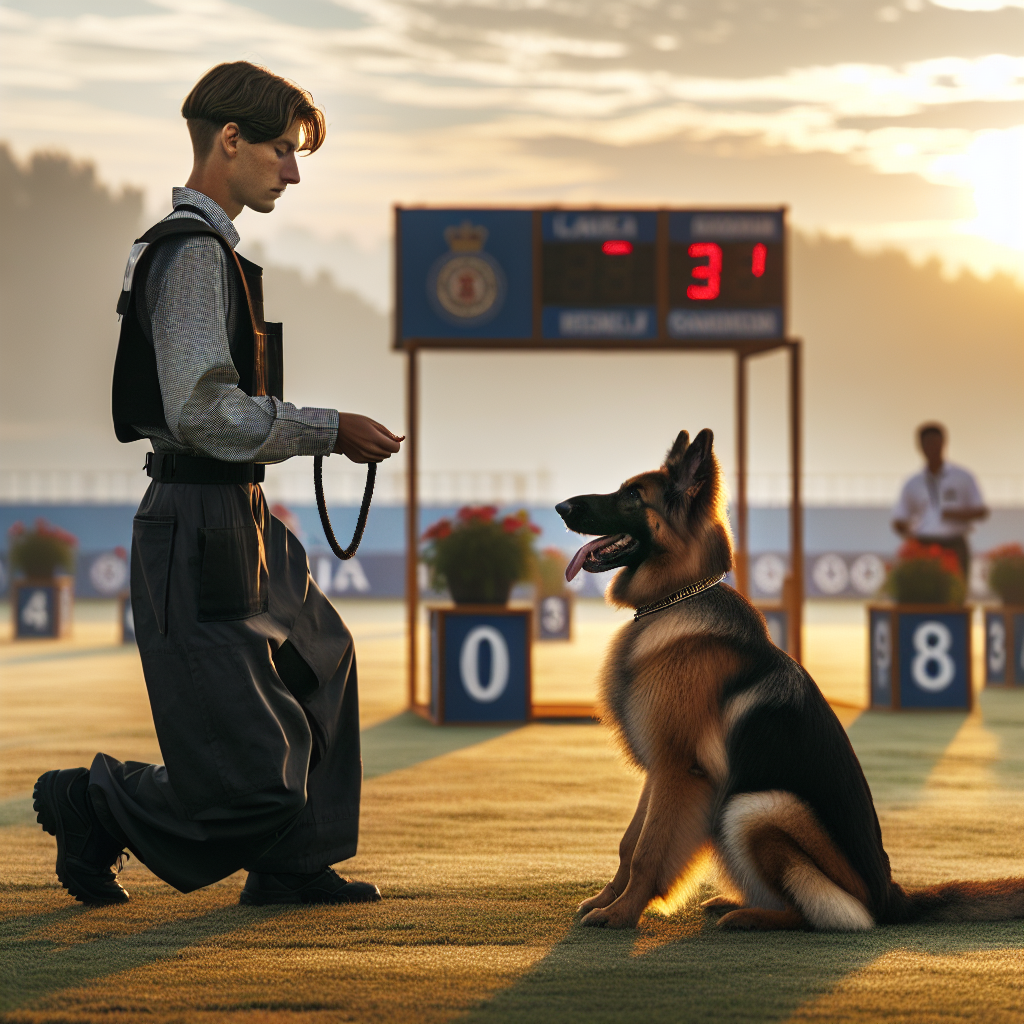
Start with eye contact, loose lead mechanics, and neutral heeling near the field. If your dog cannot focus next to the field, the courage test will not be clear. Build engagement in quiet areas first, then move closer to controlled distractions.
Marker System and Handling
Smart handlers use a simple marker system. Yes means reward now, good means hold the behavior, and out means release the bite. Your handling should be precise and calm so the courage test stays predictable in your dog’s mind.
Neutrality around Helpers and Equipment
We teach dogs to ignore the helper until sent. The sleeve, whip noise, and stick taps are just part of the picture. The courage test works best when the dog waits for the cue and then commits.
Building Confidence without Conflict
Confidence is earned in small wins. We shape approach and targeting in short reps where success is easy. We keep arousal at a level where the dog can still hear the handler. Bit by bit we increase intensity. This avoids conflict and keeps the courage test smooth. Smart trainers never rush straight to a full send. We prepare the dog to be right.
Reading Arousal versus Clarity
High arousal can look like courage. It is not the same. In the courage test we want a dog that thinks and acts, not a dog that explodes and guesses. Signs of too much arousal include vocalising, grabbing clothes, early breaks, weak grips, and slow outs. Signs of clarity include quiet focus, straight line approach, full calm grip, and a clean release on the first cue. When in doubt lower intensity and rebuild clarity.
Step by Step Progression Plan for Beginners
Stage 1 Environmental Neutrality
Teach your dog to settle on the field. Walk patterns, do basic obedience, and reward calm. The courage test will be part of the same picture later, not a separate world.
Stage 2 Targeting and Grip Foundation
Use a soft wedge or pillow to teach a full calm grip. Reward stillness. The courage test needs depth and calm in the grip so build it here before any distance is involved.
Stage 3 Controlled Drive and Out
Introduce a short approach with clear send, hold, and out. Keep the line short for safety. Reward the out with a re-bite when done well so the dog sees that letting go leads to more work. This is the moment that makes the courage test accountable and conflict free.
Stage 4 Approach and Decoy Pressure
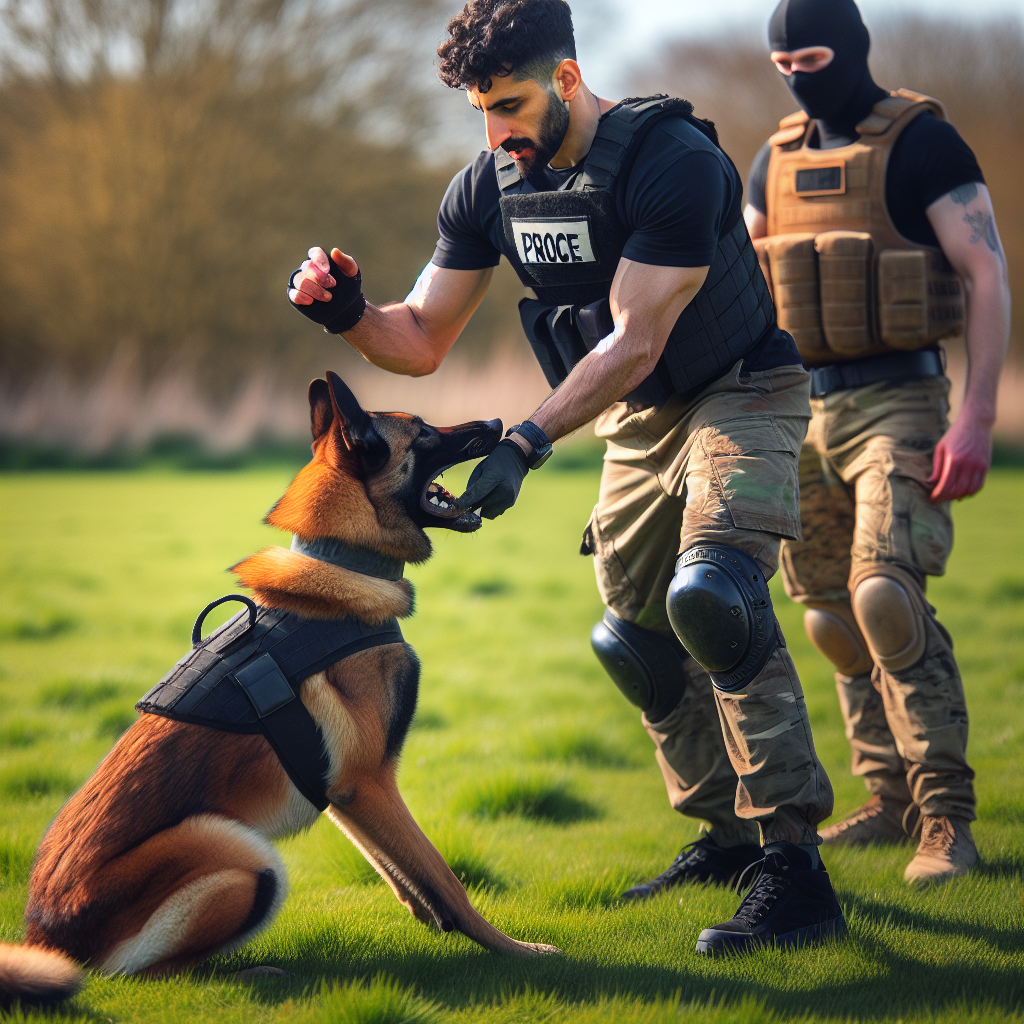
Add movement from the helper, stick taps, and voice. Keep distance modest so the picture stays clear. If grip weakens or the out slows, reduce pressure and fix clarity before moving on. The goal is to inoculate the dog to pressure while keeping the courage test clean.
Stage 5 Long Approach Courage Test Simulation
Now stretch the approach to a longer distance. Use clear body language, a single send cue, and steady handling on the line if needed. The helper should present a straight picture and give the dog a fair target. Reward a direct line and a full grip. Keep the courage test short in early sessions and stop while the dog is winning.
Stage 6 Trial Ready Proofing
Change surfaces, add crowd noise, vary wind and light, and practice different helper entries. Maintain the same cues and rules. The courage test should feel the same everywhere. If performance drops, return to the last clean step and rebuild. That is progression done right.
Common Mistakes that Create Confusion
- Sending on mixed cues. Keep one cue for the send in the courage test.
- Letting the dog stare and load without structure. Build neutrality first, then send.
- Rushing distance without solid grip. Fix the grip before the full courage test.
- Using nagging pressure for the out. Give one cue, then guide and release.
- Inconsistent helper pictures. The dog needs the same rules every time in the courage test.
Equipment Used and How to Introduce It
We use a wedge or pillow for early grip, a sleeve as the target, and a line for safety. All equipment is introduced at low arousal so the dog can think. In the courage test the sleeve is not a toy. It is the target that marks the job. The line is not there to hold the dog back. It is there to keep the picture safe and tidy. Smart Dog Training teaches handlers how to handle lines, how to present the target, and how to step out of the picture at the right time.
Handler Skills that Create Clarity on the Field
- Posture and stillness. Move with purpose so the courage test feels stable for your dog.
- Voice and timing. Use one cue per action. Mark and release with precision.
- Lead management. Keep tension clean and neutral. No constant pulling.
- Observation. Watch your dog’s eyes, line, and grip to gauge clarity.
When handler skills improve, the courage test becomes simple, even for a young dog. The dog sees the same picture on every field with every helper.
Safety and Welfare Standards
Smart places safety first. Dogs must be healthy, fit, and clear in their work. Warm up and cool down every session. Keep training surfaces sound. Keep helpers skilled and fair. End on success. When these standards are met, the courage test builds confidence rather than stress.
How Smart Trains Real World Courage with Reliability
We do not chase points. We build dogs that can perform with calm and clarity in daily life as well as sport. The same rules used in the courage test show up in obedience, public neutrality, and house manners. Send means go. Out means let go. Return means come back. By using one clear system across the board, your dog learns faster and stays reliable under pressure.
Case Snapshot from a Smart Programme
A young working breed joined a Smart programme with lots of drive but little focus. The dog screamed on the line and missed early entries. We began away from the field, building engagement and marker clarity. We shaped a calm grip on a pillow and rewarded clean outs with a re-bite. After two weeks the dog could walk past the helper in heel without breaking. We then added short approaches and light pressure. By week six the dog ran a clean courage test with a straight line, deep grip, and first cue out. The family saw the same clarity at home. Doors stayed closed without conflict and recalls improved in the park. That is the Smart Method in action.
When to Seek Professional Help
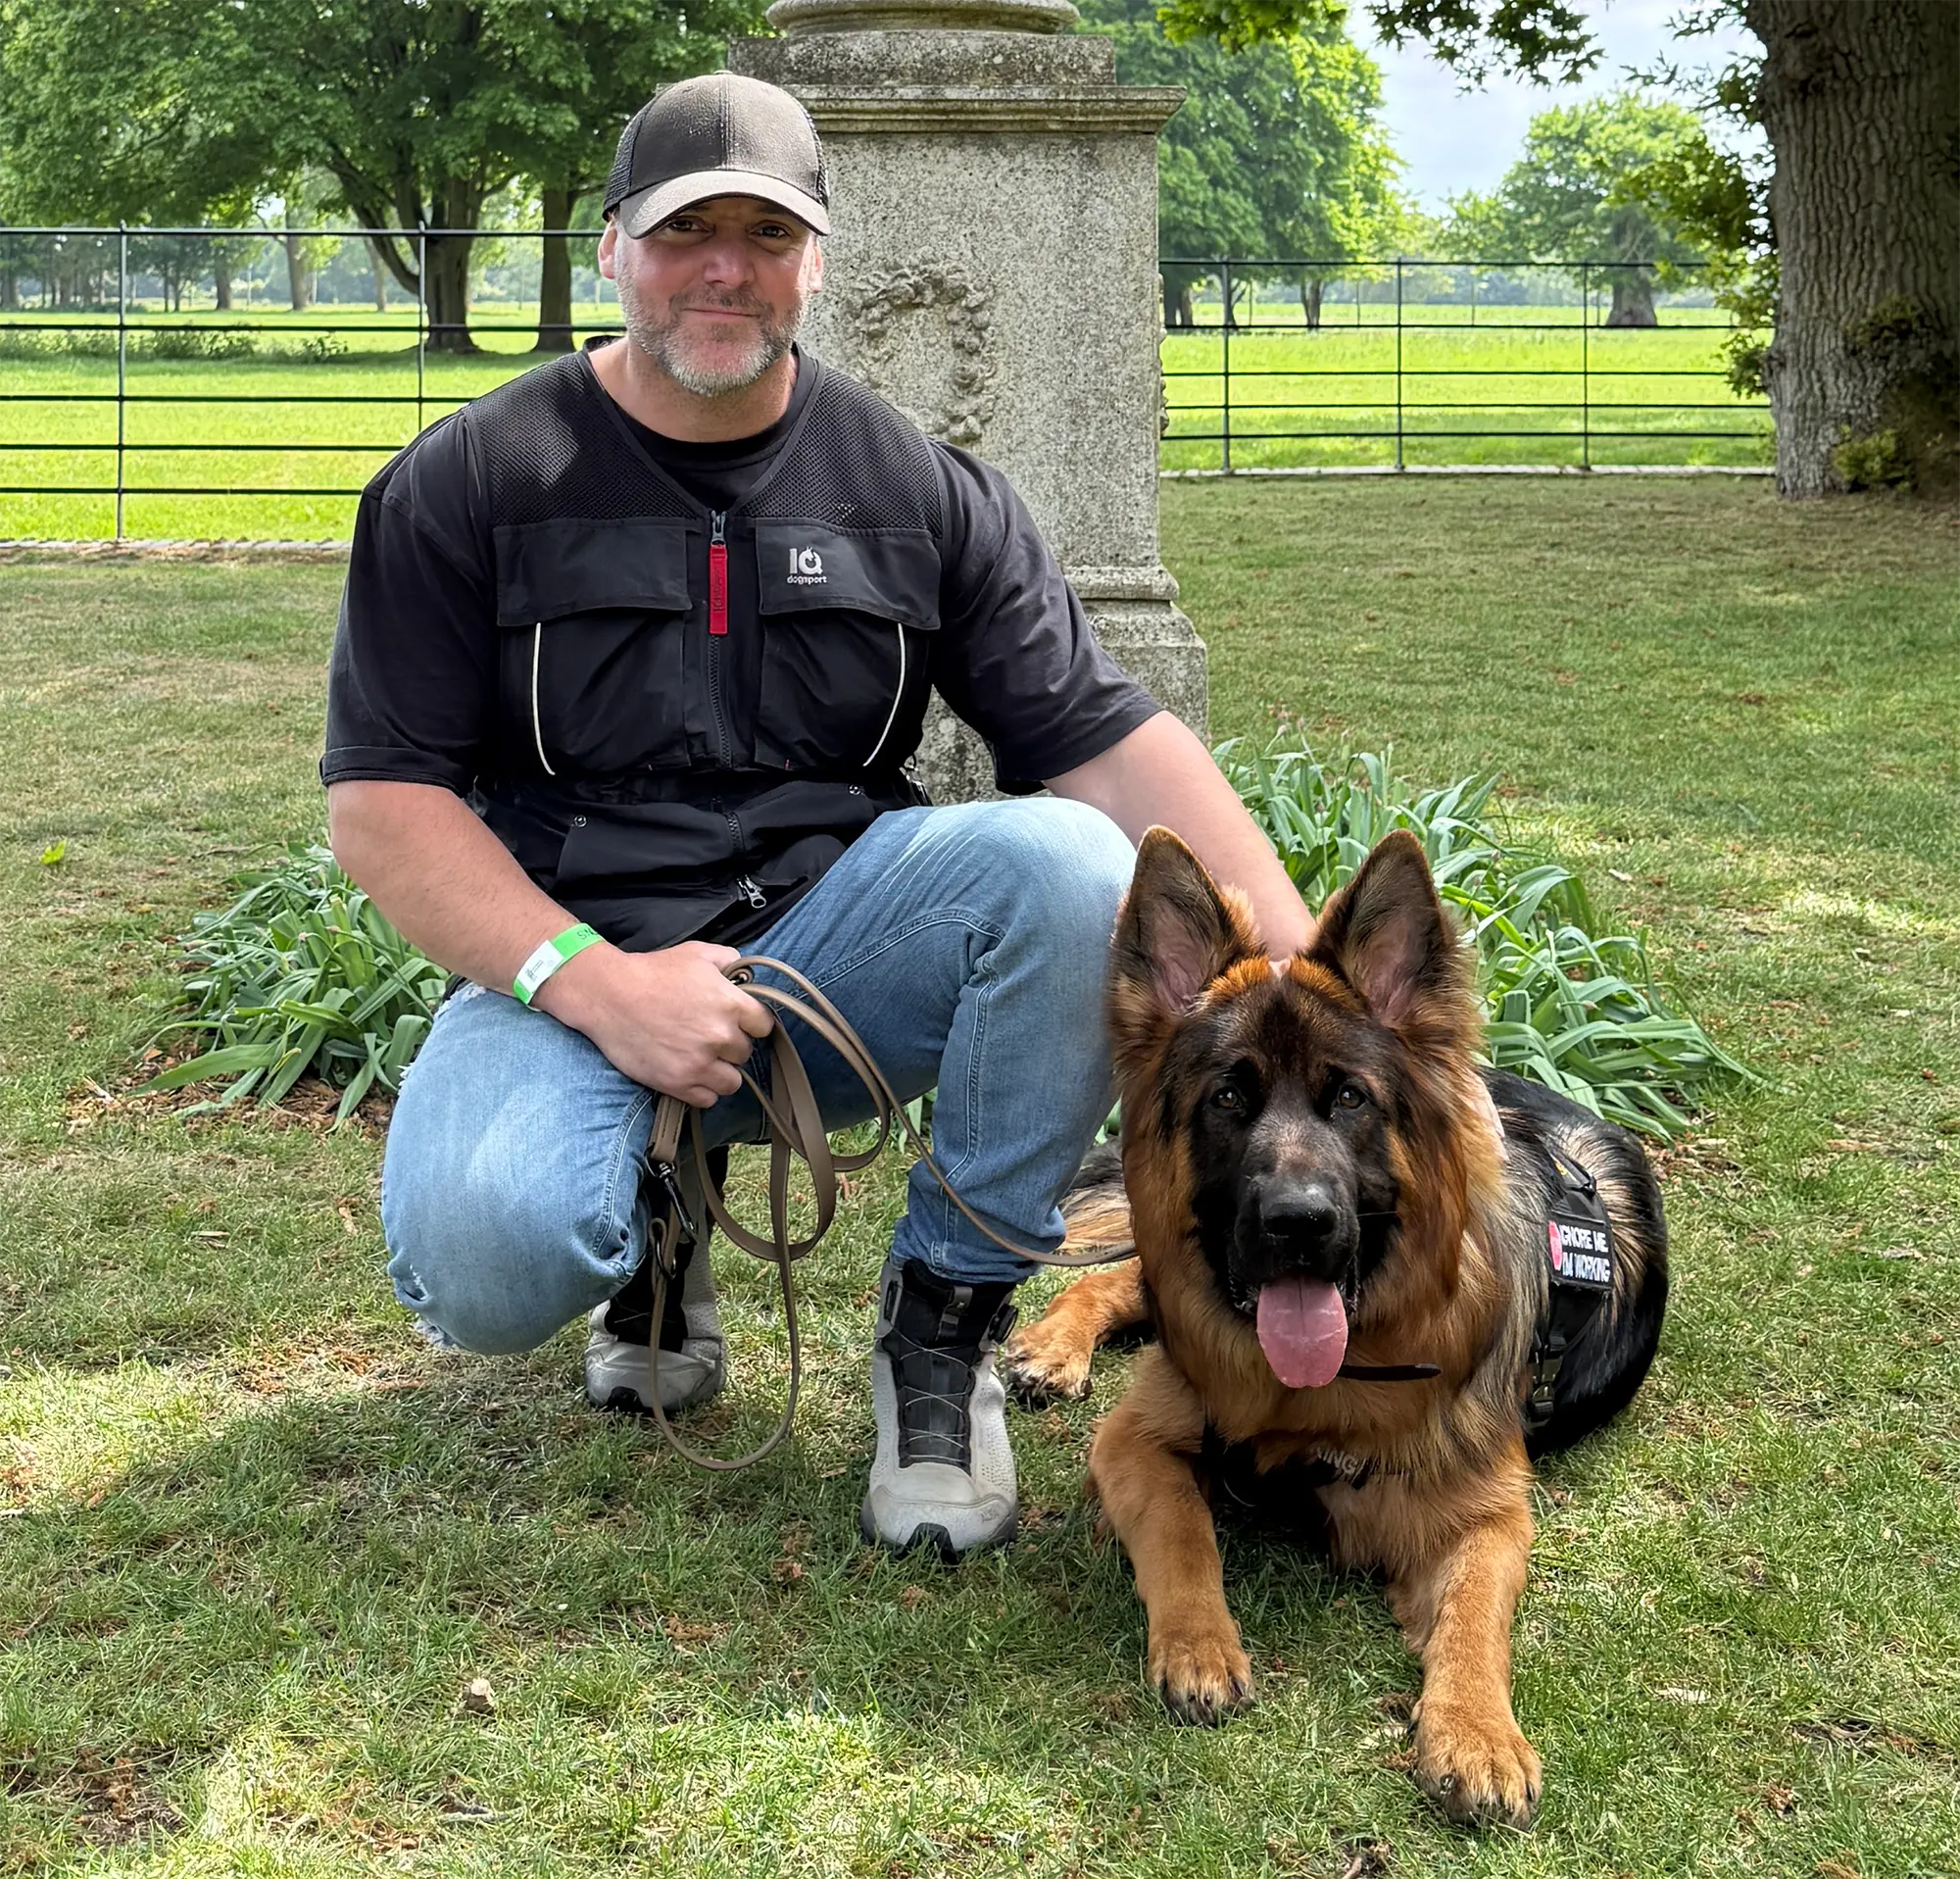
If your dog is unsure, too hot, or inconsistent the best step is guided support. A certified Smart Master Dog Trainer SMDT will assess your dog and design a plan that makes the courage test clear and safe. You will learn handling skills, session structure, and how to progress without setbacks.
Ready to turn your dog’s behaviour around? Book a Free Assessment and connect with a certified Smart Master Dog Trainer available across the UK.
FAQs
What is the courage test and why is it important
The courage test is a long approach toward a helper under high pressure. It tests clarity, commitment, grip, and control. Smart uses it to show that a dog can stay calm, follow cues, and release on command in a charged setting.
Can a beginner dog learn the courage test safely
Yes. With the Smart Method we build the picture in small steps. We teach grip, out, and approach before adding distance and helper pressure. Safety and clarity come first.
How long does it take to prepare for a clean courage test
Timelines vary by dog and handler. Many teams see a clean simulated courage test within six to eight weeks when training is consistent and guided by a Smart trainer.
Does my dog need high drive to pass the courage test
Drive helps, but clarity matters more. With fair pressure and release, good rewards, and steady progression, even a moderate dog can perform the courage test with confidence.
What are signs my dog is not ready
Early breaks, weak grips, slow outs, and vocalisation suggest the picture is not clear. Step back, lower intensity, and rebuild the building blocks before the next courage test session.
Do I need special equipment
A soft wedge or pillow, a sleeve, a safe line, and a flat collar are typical. Smart shows you how to introduce each item so the courage test stays structured and safe.
Conclusion
The courage test should never be a wild gamble. It should be a calm, clear picture your dog understands. By following the Smart Method you build clarity, fair pressure and release, strong motivation, steady progression, and deep trust. Start with foundations, add intensity step by step, and keep the rules the same everywhere. If you want expert guidance, Smart has you covered across the UK.
Your dog deserves training that truly works. With certified Smart Master Dog Trainers SMDTs nationwide, you'll get proven results backed by the UK's most trusted dog training network. Find a Trainer Near You


