How to Improve Outing Under Pressure

Overview
If you work protection, IGP, or any high arousal task, you already know the out is the line between control and chaos. Learning How to Improve Outing Under Pressure is not about louder commands or stronger corrections. It is about clarity, motivation, and fair accountability layered through real life stress. At Smart Dog Training we deliver this result with the Smart Method, our structured system for reliable performance. Every certified Smart Master Dog Trainer (SMDT) follows the same blueprint nationwide.
This guide shows How to Improve Outing Under Pressure from the ground up. You will learn what causes sticky grips, how to build a clean release without conflict, when to add pressure, and how to proof so the out holds in trial conditions. The steps below mirror our field proven process so you can move from messy to measured, from struggling to steady.
What Does Outing Under Pressure Mean
Outing under pressure means your dog releases on cue even when drive is high and stress is present. Pressure can be physical proximity of a helper, defensive body language, environmental noise, fast motion, or competition nerves. Your dog must disengage, settle into clarity, and stay in task without conflict. The Smart Method builds this response through precise markers, fair pressure and release, and progressive proofing.
Why Dogs Fail The Out Under Stress
- Poor clarity on the release marker and reward history
- Low skill with grip control at moderate arousal
- Late or inconsistent reinforcement for correct outs
- Handler conflict that creates opposition or frantic behaviour
- Pressure introduced before foundations are stable
- Unclear plan for out on approach, out and guard, or return to work
When the plan is loose, the dog fills the gap with emotion. The Smart Method removes ambiguity and replaces it with clear rules and fair outcomes.
The Smart Method Framework For Reliable Outs
Our Smart Method is the only system we use at Smart Dog Training for outing under pressure. It has five pillars that shape every rep.
- Clarity. Command and markers are consistent and precise. The dog always knows when to bite, when to release, and what happens next.
- Pressure and Release. We guide with fair pressure and remove it at the right moment. Correct choices open the door to reward and relief.
- Motivation. We build a strong desire to comply. The out becomes the pathway to the next game or task, not the end of fun.
- Progression. We layer difficulty in small steps. Duration, distance, and distraction rise only when criteria are solid.
- Trust. Low conflict builds confidence and a calm mind. Trust produces responsibility under stress.
Foundations Before You Add Pressure
Before you learn How to Improve Outing Under Pressure, lock in the basics. Do not add a helper or speed until these are correct at home and on the field.
Marker System And Release Mechanics
- Choose one clear word for the release. Keep it neutral and consistent.
- Use a reward marker for correct outs. Deliver reinforcement immediately after a clean release.
- Use a neutral hold marker to confirm that holding is still in play.
- Maintain a clear no reward marker. Avoid emotion. Information is enough.
The sequence is simple. Command to out. Dog releases. You mark correct. Dog earns an immediate outcome that matches your plan.
Build The Out On Toys And Tugs
- Start with a medium tug that suits the mouth.
- Teach hold and calm grip, then ask for the out at low arousal.
- Pay the release by restarting the game. The out predicts more work.
- Keep sessions short. Keep the ratio of success high.
We want the dog to believe that the out is how we continue the session. This primes the mind for responsibility rather than loss.
Neutrality And Emotional Control
- Teach a neutral position after the out. Sit, down, or stand with focus.
- Reward stillness. Avoid stimming behaviour like hopping or screaming.
- Introduce simple environmental pressure. Walkers, mild noise, and distance changes while the dog remains calm.
Neutrality prevents anticipation and keeps the dog ready to receive information.
Pressure And Release Done Right
Pressure is not punishment. Pressure is information that guides to the correct decision. Release is the removal of that pressure as the dog commits to the correct choice.
What Counts As Pressure
- Leash guidance that limits forward drive after the out cue
- Body pressure from handler or helper closing space
- Environmental challenges like noise or movement
- Low level working tools when trained and paired with markers
Release Timing
- Ask for the out
- As the dog releases, remove pressure
- Mark the release
- Deliver the next outcome, either re bite, obedience task, or food
This pairing is the heart of our Smart Method. The dog learns that compliance turns pressure off and opens the door to reward.
How to Improve Outing Under Pressure Step By Step
The sequence below is how we deliver real world reliability. Each phase has one focus. Do not stack variables until criteria are solid.
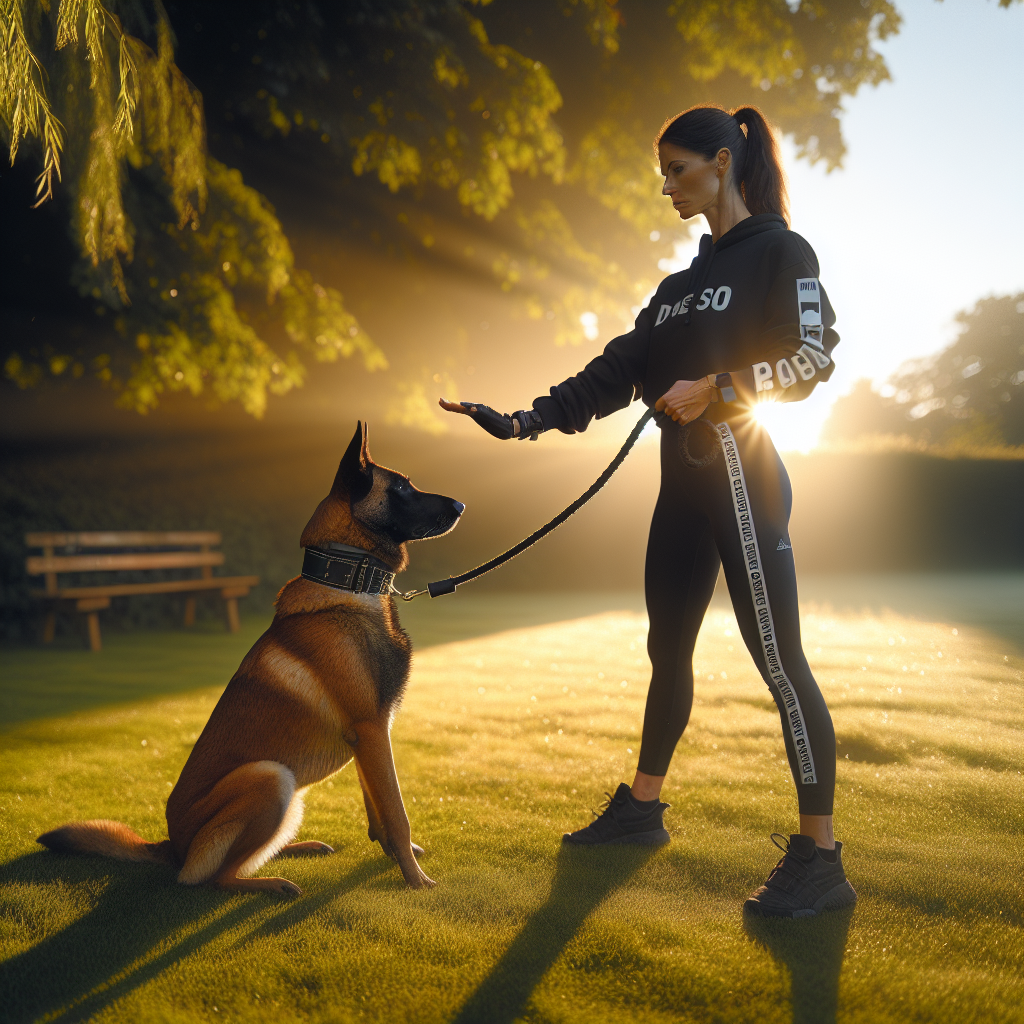
Phase 1 Calm Outs On A Static Tug
- Low arousal. No helper. Handler only.
- Ask for out from a calm hold. Expect clean mouth opening, not chewing.
- Mark and restart the game within one second of the release.
- Criteria for success. Eight of ten clean releases with stillness after the marker.
Note. If your dog spits due to anticipation, lower excitement and add a short hold marker before the out.
Phase 2 Add Low Level Motion And Body Pressure
- Handler adds a small step or slight shoulder turn as you cue the out.
- Light leash guidance prevents forward drive after the cue.
- Mark and pay by restarting the game.
- Criteria for success. Dog can ignore small motion and still release on cue.
Phase 3 Out On Approach
Outing as the handler or helper approaches raises arousal. This is a key skill for IGP field work.
- Dog grips tug. You walk in, cue out just before you reach the dog.
- As the dog releases, you remove leash tension and step neutral.
- Mark and either back away to re engage or ask for a guard position.
- Criteria. Dog outs as you arrive, remains still, eyes on the task.
Phase 4 Out And Guard
Now we attach obedience to the out. The out does not end the game. It transitions to a clear job.
- Cue out, then immediately cue guard behaviour such as sit watch.
- Reward the guard with a re bite or food, based on your plan.
- Keep repetition short. Success builds belief.
Phase 5 Outs Under Motion And Drive
- Increase speed. Add forward steps or short jog as you cue the out.
- Introduce environmental noise. Keep it mild at first.
- Alternate rewards. Sometimes re bite, sometimes obedience with food.
- Criteria. Dog releases fast, then holds position until the marker for next action.
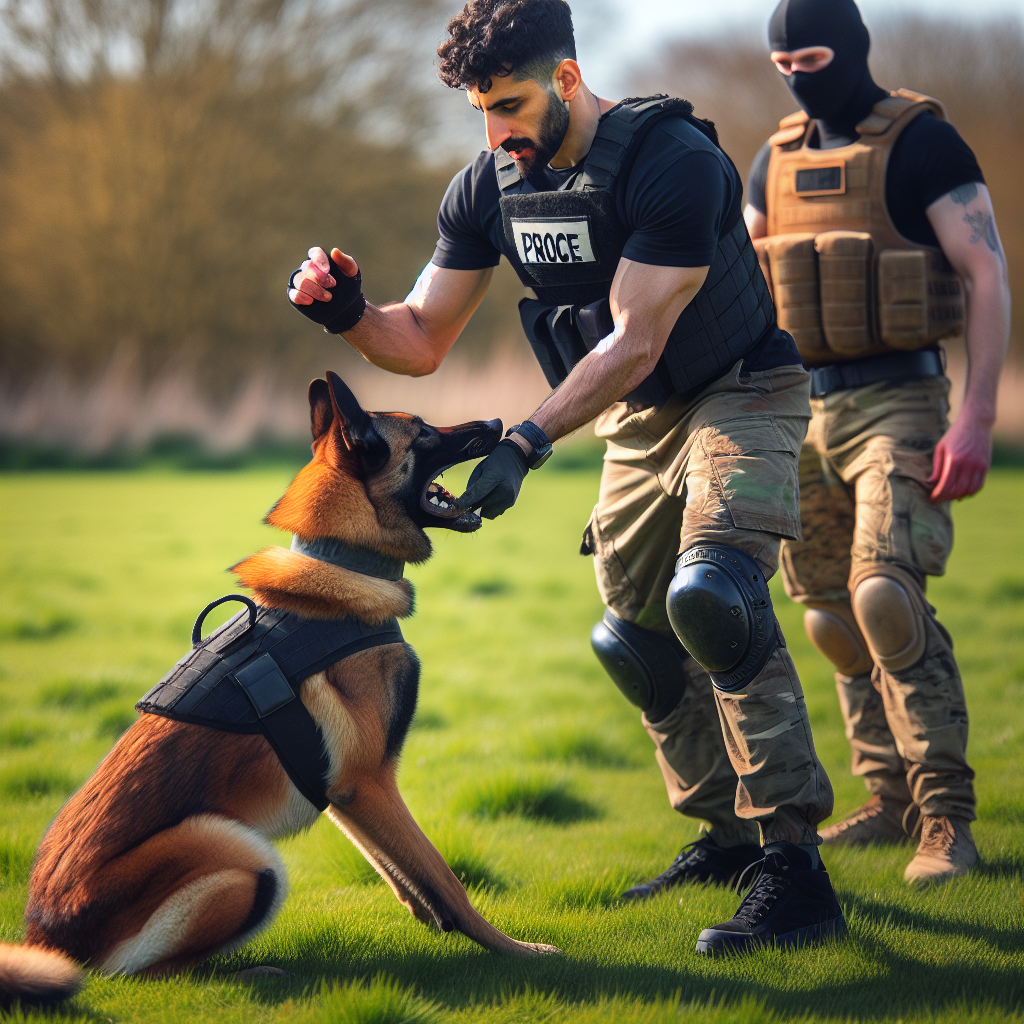
Phase 6 Outs With A Helper For IGP
Introduce a skilled helper only after you have earned stability. At Smart Dog Training we control every variable so the dog never rehearses failure.
- Helper presents a predictable picture. Clean grips. Calm pressure.
- Handler cues the out. Helper freezes and removes threat as the dog releases.
- Mark the release. Helper re animates only after the handler cue.
- Criteria. Dog outs on the first cue and maintains guard without vocal conflict.
Ready to turn your dog’s behaviour around? Book a Free Assessment and connect with a certified Smart Master Dog Trainer - available across the UK.
Building Motivation For The Out
For many dogs the out feels like loss. We flip that picture. The out is the gateway to more work.
- Use re bite as a primary reward after perfect outs.
- Sometimes pay with food to keep arousal flexible.
- Mix short obedience after the out to add responsibility.
- Keep your voice calm. Let markers do the talking.
When the dog expects good things after the out, compliance arrives without conflict.
Tools Used With Fairness
Smart Dog Training uses tools within the Smart Method only. We never allow conflict to define the session.
Leash And Back Tie
- Use a back tie to keep pictures consistent.
- Guide gently so the dog cannot drive forward after the out cue.
- Release tension the moment the dog commits to the out.
Prong Collar Or E Collar When Trained
If you choose to use these tools, they must be layered with markers at low arousal first. Smart Dog Training pairs sensation with clear information so the dog learns how to turn pressure off. The goal is a softer mind and faster compliance. Never use a tool to mask missing foundations.
Criteria And Measuring Progress
- Latency to release. Count the seconds from cue to mouth open. Aim for under one second at moderate arousal.
- Quality of mouth. Look for a clean open rather than chewing or rolling.
- Post out neutrality. Dog remains still and focused for two seconds before the next marker.
- Generalisation. Dog repeats this picture across locations and with a helper.
Track these metrics weekly. If numbers stall, drop a level and reinforce success.
Troubleshooting Common Issues
Dog Clamps Harder When You Cue
- Lower arousal. Use a smaller tug and a calmer start.
- Split the behaviour. Add a hold marker for two seconds, then cue the out.
- Pair light leash guidance with instant release of tension the moment the mouth opens.
Vocalising Or Spinning After The Out
- Reinforce stillness. Pay the dog only when body is quiet and eyes are on you.
- Reduce decoy animation for a few sessions.
- Add a simple obedience move right after the out marker to channel energy.
Re Biting Before The Marker
- Block with calm body pressure. No shouting.
- Reset to an easier picture and win several reps.
- Delay re animation of the helper until two seconds of stillness are present.
Handler Timing Errors
- Film your sessions. Review latency and marker timing.
- Simplify. Fewer variables mean cleaner reps.
- Work with a Smart Master Dog Trainer for live coaching and clean pictures.
Proofing For Real Pressure
Proofing is the bridge from training to trial. Move through these layers at a pace that keeps your success ratio high.
- Locations. Field, car park, training hall, quiet park.
- People. Helper, steward, judge movement, group of observers.
- Noise. Clatter, whistle, radio, crowd clap.
- Motion. Helper approach, sidestep, fast exit, decoy retreat.
- Distance. Short lead, long line, off lead with back tie.
Work one variable at a time. Always return to easy wins before you end the session.
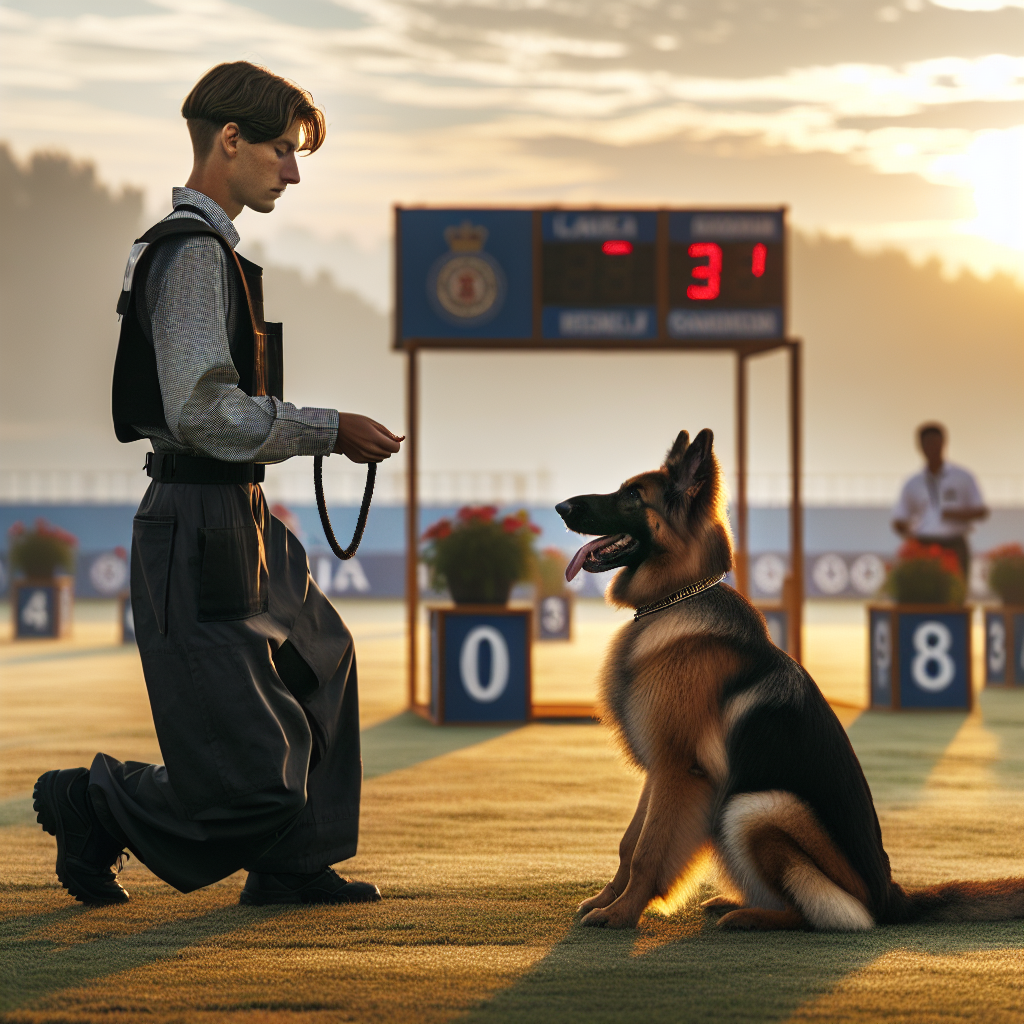
IGP Specific Pictures
If you compete, your dog must understand the exact trial pictures.
- Out on approach. Release as you arrive at the dog. Maintain a clean guard until your next cue.
- Out and guard. Dog releases and holds position with focused attention. No chewing. No forward drive.
- Out on escape or drive. Release even when speed and distance rise. Re engage only on your marker.
Smart Dog Training sets these pictures with precision so your dog rehearses only the behaviour you want in a trial.
Maintaining Outs Over Time
- Refresh drills weekly at moderate arousal.
- Reward great outs often. Do not let the behaviour decay.
- Rotate rewards. Food, re bite, and obedience tasks keep balance.
- Keep your cues the same. Consistency builds confidence.
When To Bring In A Professional
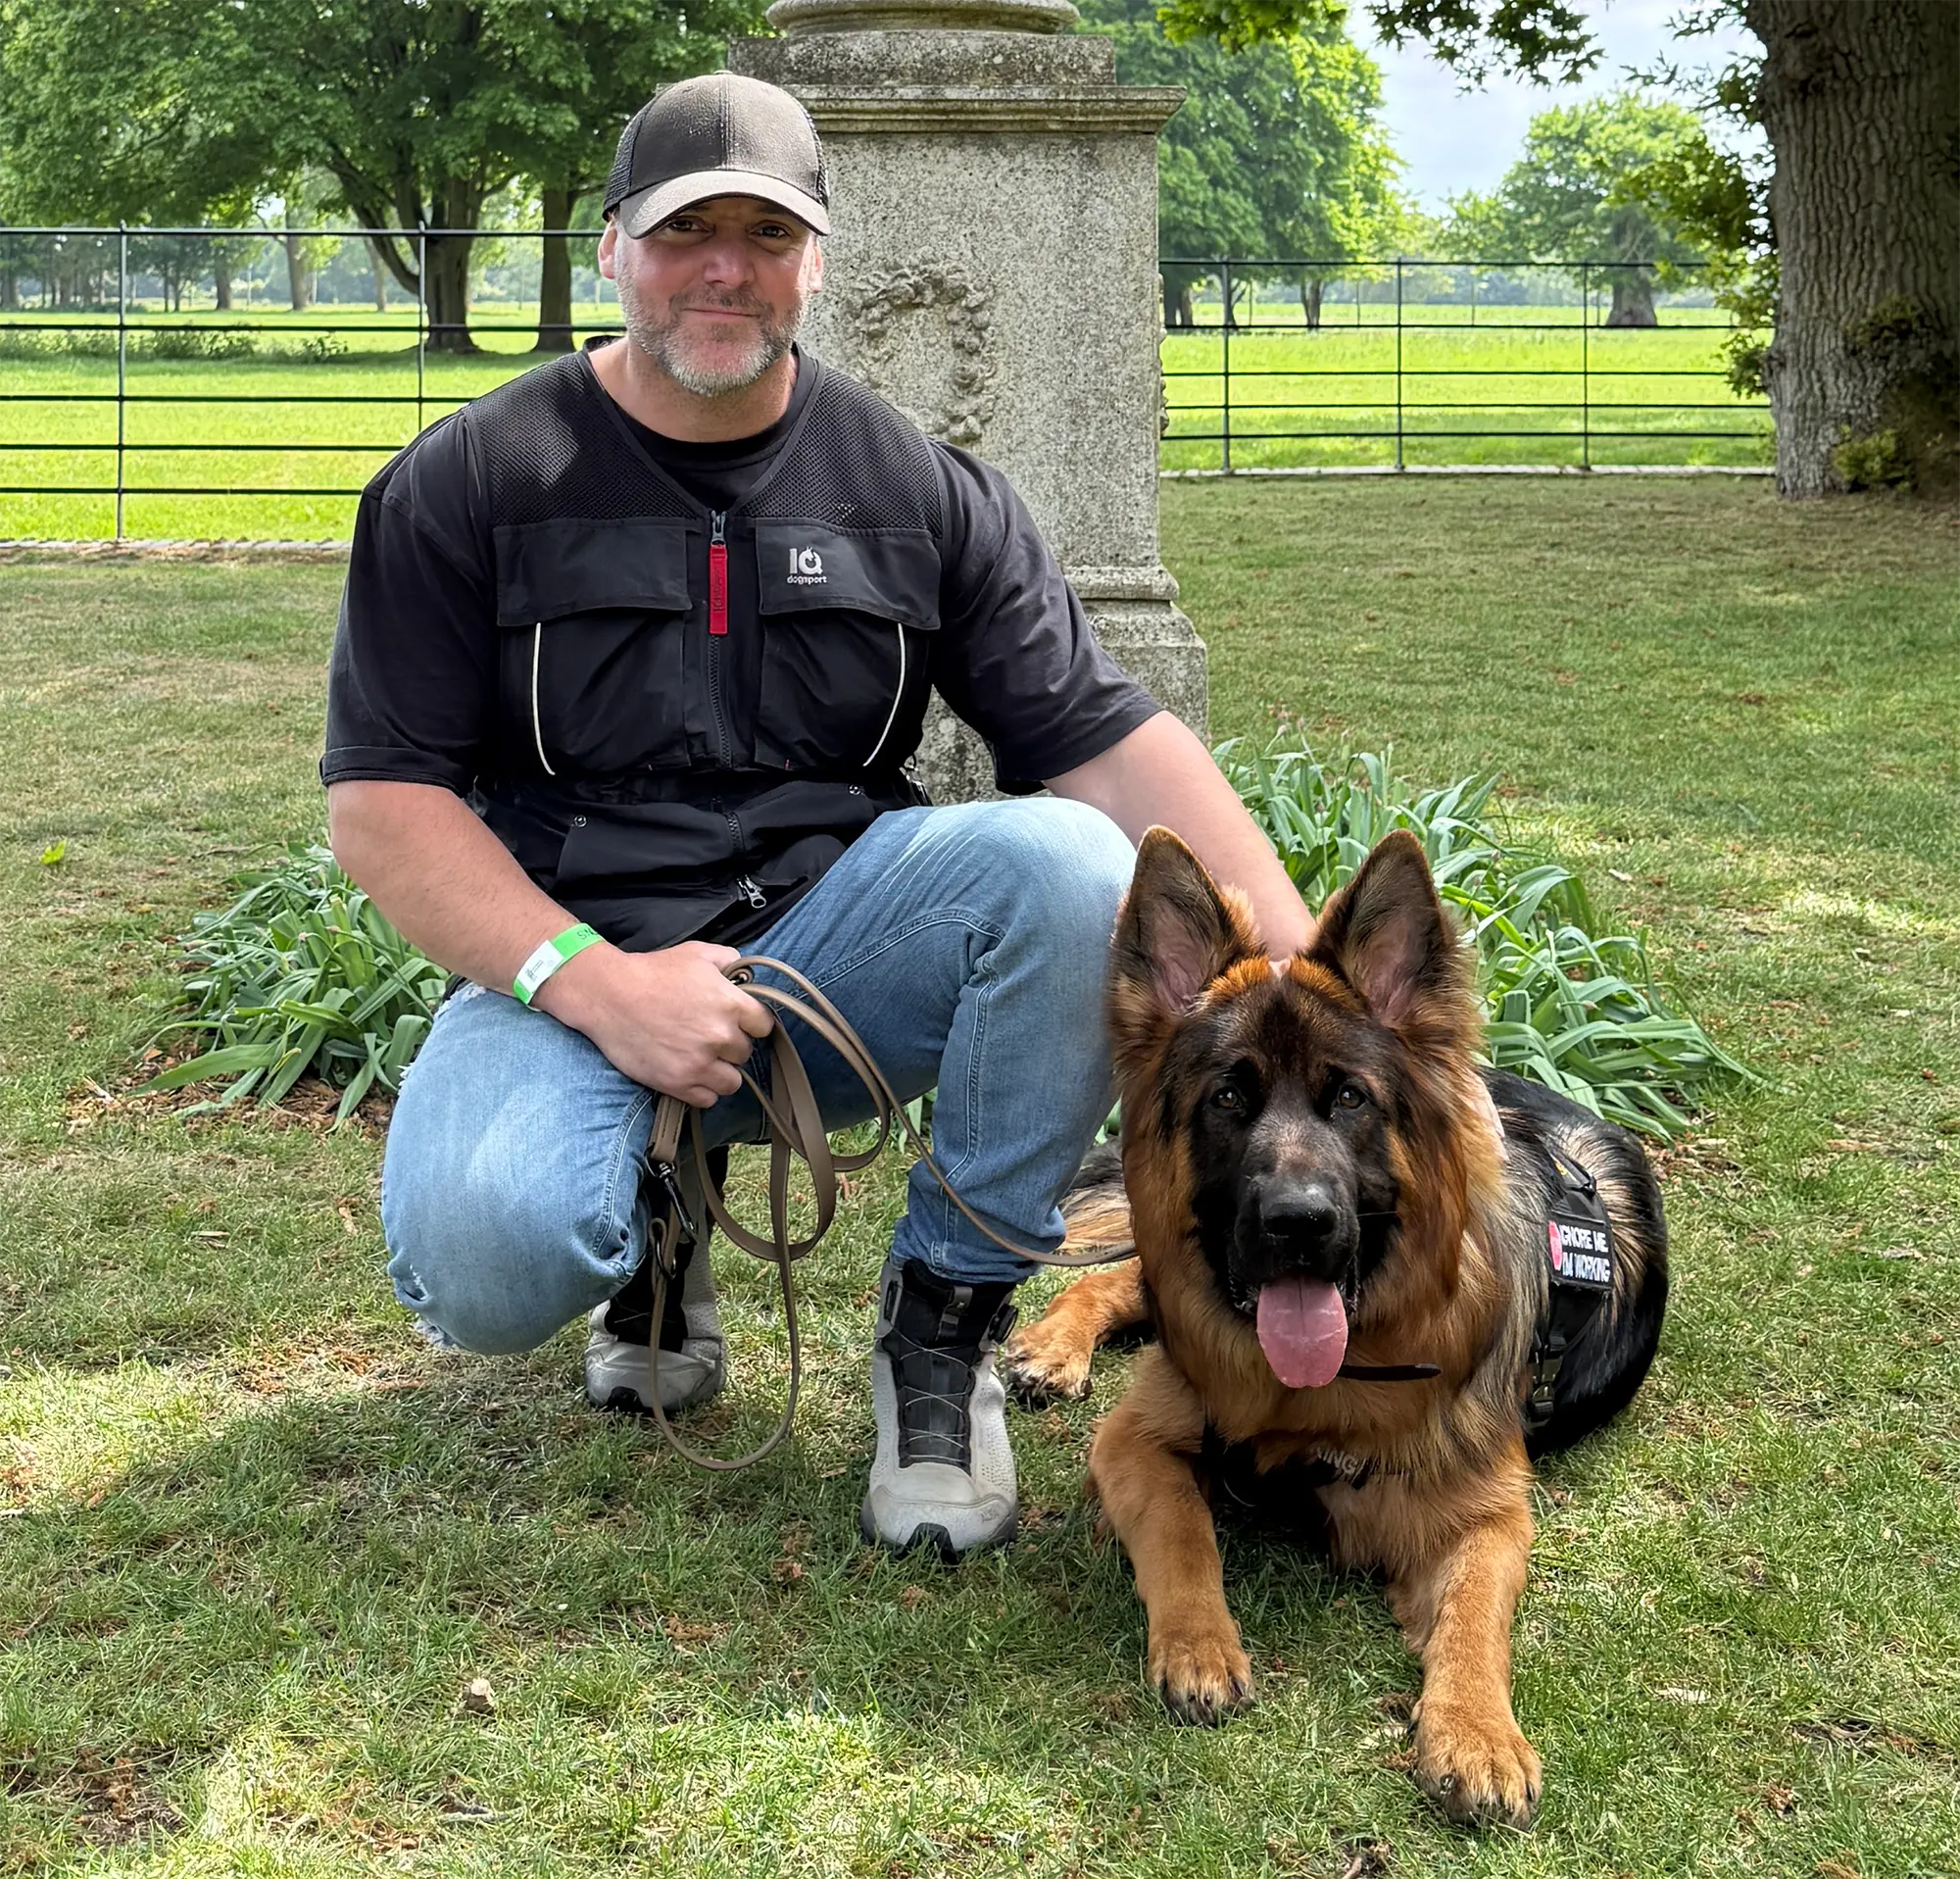
Some dogs carry genetic power or strong nerve that needs expert shaping. If you are fighting conflict or your timing feels off, bring in a coach. A Smart Master Dog Trainer (SMDT) will assess foundations, structure your plan, and coach your timing so you progress faster without creating fallout.
Ready for hands on help with outing under pressure? Book a Free Assessment and we will map a training plan using the Smart Method.
FAQs
What is the fastest way to start seeing results
Simplify the picture and reward perfect outs within one second. Short, high quality reps create fast wins. Then add mild pressure in small steps.
Should I reward with a re bite or food after the out
Use both. Re bite builds desire for the game. Food adds calm and flexibility. Smart Dog Training alternates rewards to balance drive and clarity.
Can I use an e collar for the out
Yes when properly trained and paired with markers at low arousal first. The Smart Method uses pressure and release with clarity so the dog learns to turn pressure off by complying.
How do I stop vocalising after the out
Pay only stillness. Reduce helper animation and add a job like guard. Reward the calm picture and reset if the dog breaks.
How many reps should I do in one session
Keep it short. Ten to fifteen clean reps at moderate arousal beat long sessions. End on success and leave the dog wanting more.
What if my dog outs at home but not on the field
You need structured proofing. Change one variable at a time. Add location, people, or movement in layers while protecting the success ratio.
Is this process suitable for young dogs
Yes with age appropriate arousal and short sessions. Build clarity and motivation first. Delay heavy pressure until maturity and foundation are stable.
Do I need a helper to improve outing under pressure
Not at the start. Build the mechanics with a handler only. Add a skilled helper later to shape IGP pictures once the out is reliable.
Conclusion
Learning How to Improve Outing Under Pressure is a process of clear communication, fair guidance, and smart progression. When you anchor the out to good outcomes and introduce pressure in planned layers, your dog releases fast and remains responsible even when the picture is intense. That is the promise of the Smart Method. Calm, consistent behaviour that holds up in real life and in trial.
Your dog deserves training that truly works. With certified Smart Master Dog Trainers (SMDTs) nationwide, you'll get proven results backed by the UK's most trusted dog training network. Find a Trainer Near You


