How to Teach Clean Outs

Understanding Clean Outs in Protection Training
Many handlers want to know how to teach clean outs that work in real life and stand up in sport. A clean out is a fast, clear release from the bite, followed by calm neutrality until the next command. At Smart Dog Training we build this outcome through the Smart Method so the dog understands exactly what to do and why. If you want reliable results, work with a certified Smart Master Dog Trainer early so you set the right foundation.
Learning how to teach clean outs is about clarity, timing, and fair accountability. You will pair precise commands with the right reward structure and use pressure and release in a way the dog can predict. The goal is a release that is immediate, conflict free, and stable even under high drive.
What a Clean Out Looks Like
A clean out has five parts. The handler gives the cue. The dog releases promptly with no chewing or regripping. The dog holds neutral until told to do something else. The dog can either reengage or heel off on command. The helper remains consistent so the dog learns the same rules every time.
Why Clean Outs Matter for Safety and Scores
Clean outs protect helpers and handlers. They show control under drive, which judges reward. They also reduce conflict and stress for the dog because the path to reward is always clear. When you focus on how to teach clean outs the right way, your whole routine becomes smoother.
The Smart Method Framework for Outs
Everything we teach at Smart Dog Training follows the Smart Method. The same structure that produces real world obedience also produces clean outs that hold under pressure.
Clarity Markers and Commands for Outs
Clarity is step one. Choose one out cue. Use two markers. A terminal reward marker such as yes tells the dog it can win a reward now. A duration marker such as good tells the dog to hold position. When learning how to teach clean outs, say less and mean more. Keep your voice low and neutral.
Pressure and Release That Stays Fair
Pressure is simply information. In our system, pressure is a steady cue such as line tension or body stillness. Release is the moment pressure turns off when the dog makes the correct choice. When handlers ask how to teach clean outs that stick, the answer is to be fair. Pressure comes on smoothly and ends the instant the dog outs cleanly.
Motivation and Reinforcement Strategy
We want the dog to want to out because out predicts a chance to win again. Motivation does the heavy lifting. Use fast reengage bites, tugs, or a chase after the out. If the dog believes that releasing is the fastest way to get more, you solve most problems before they start.
Progression from Calm to High Drive
Progression means we layer distraction, duration, and difficulty one step at a time. Start calm. Build understanding. Then take it into more drive. The key to how to teach clean outs that never crack is to move only when the dog meets clear criteria at each stage.
Building Trust Through Predictability
Trust is the glue. The dog must trust that your cue is always the same, that the helper acts the same, and that the outcome is predictable. Consistency in sessions builds that trust. Every Smart Master Dog Trainer follows this structure to remove conflict and build confidence.
Foundation Skills Before You Teach the Out
A clean out rests on several base skills. Skipping these steps slows progress later.
Calm on Command and Off Switch
The dog should be able to switch from arousal to neutrality fast. We build this with simple on and off games. Rev the dog with a tug, then ask for sit or down. Mark calm and pay. Repeat until transitions are smooth. This primes the dog for how to teach clean outs later.
Marker System and Reward Delivery
Confirm that your dog understands yes as a terminal marker and good as a duration marker. Deliver rewards with clean mechanics. Present the reward from the correct hand and keep hands still when you do not want the dog to take something. Clean hands help you teach clean outs.
Toy Mechanics and Clean Releases
Start with a tug. Teach the dog to out on cue in low arousal. Offer a regrip after the out as a reward. The dog learns a simple truth. Release to get more. This lies at the heart of how to teach clean outs that last.
How to Teach Clean Outs Step by Step
Here is the Smart Dog Training progression that we use with clients and sport handlers. Follow each stage until criteria are met three sessions in a row before you advance.
Stage 1 Grip Play on a Tug
Let the dog take a full calm grip at mid tug. Keep the tug still to reward a steady hold. If the dog chews, the tug freezes. When the grip is calm, mark good and let the dog feel small wins such as slight movement. Your aim is to build a deep, quiet grip that will out cleanly later.
Stage 2 Add the Out Cue with Trade
Say out one time in a neutral tone. Stop all movement. Keep the tug still and lift slightly to remove self reward. The moment the dog opens, mark yes and present a second tug or quickly reengage the same tug. You are teaching the dog how to teach clean outs to itself by choosing release as the path to more fun.
Stage 3 Add Mild Pressure and Clear Release
Once the dog understands, add fair guidance. Use a light line on a flat collar. When you cue out, apply gentle back pressure. As soon as the mouth opens fully, release the line pressure and mark. The pressure turns off the instant the dog outs. That timing is essential in how to teach clean outs that are conflict free.
Stage 4 Increase Duration and Distractions
After the out, require one second of neutrality before the reengage. Then two seconds. Then three. Mix in small distractions. Step to the side. Have the helper shift feet. Mark good during neutrality so the dog knows it is correct. This makes the out clean and the picture stable.
Stage 5 Transfer from Tug to Sleeve
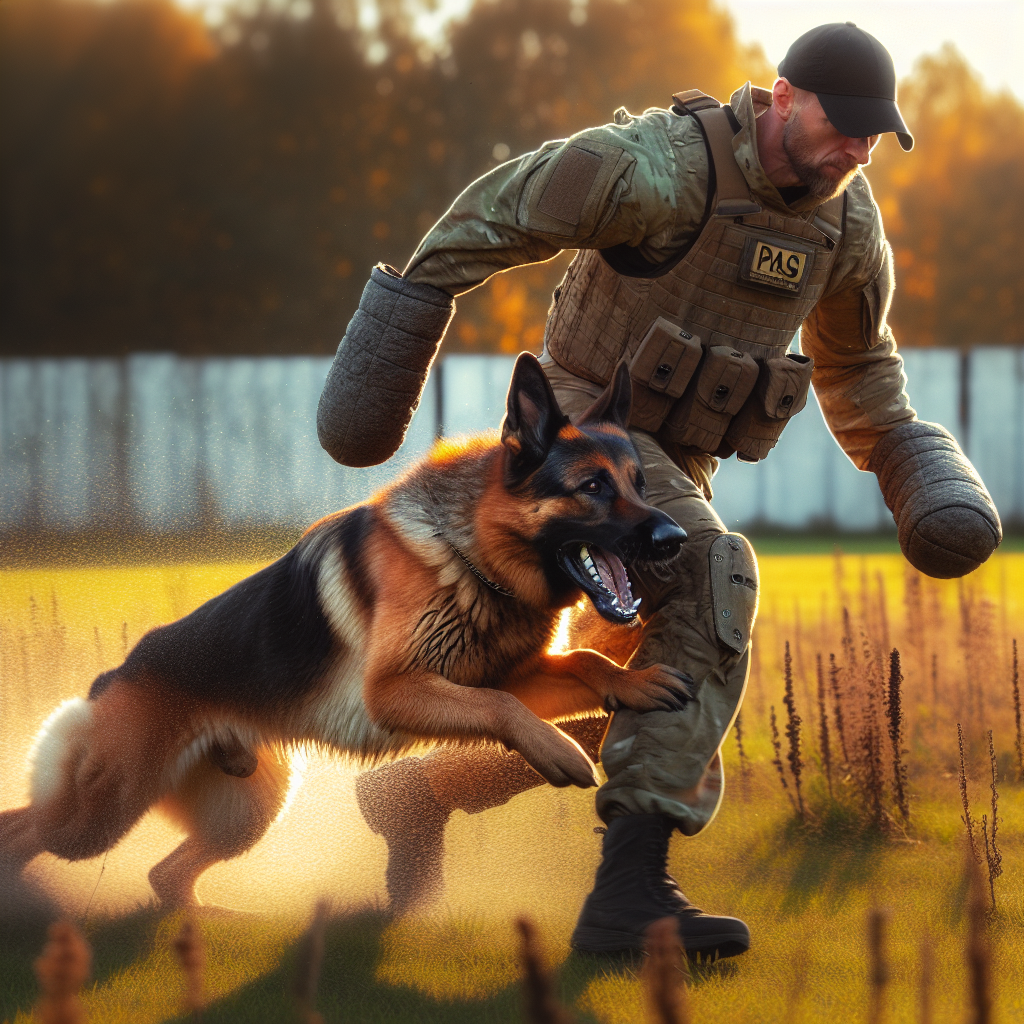
Move to a soft sleeve only when your toy out is fluent. Use the same cue, the same stillness, and the same reengage reward. Keep reps short. One bite, one clean out, one reengage. Stop while the dog still wants more. This step is where many people ask how to teach clean outs that do not crumble. The answer is to stay consistent with your rules.
Stage 6 Add Guard then Reengage Command
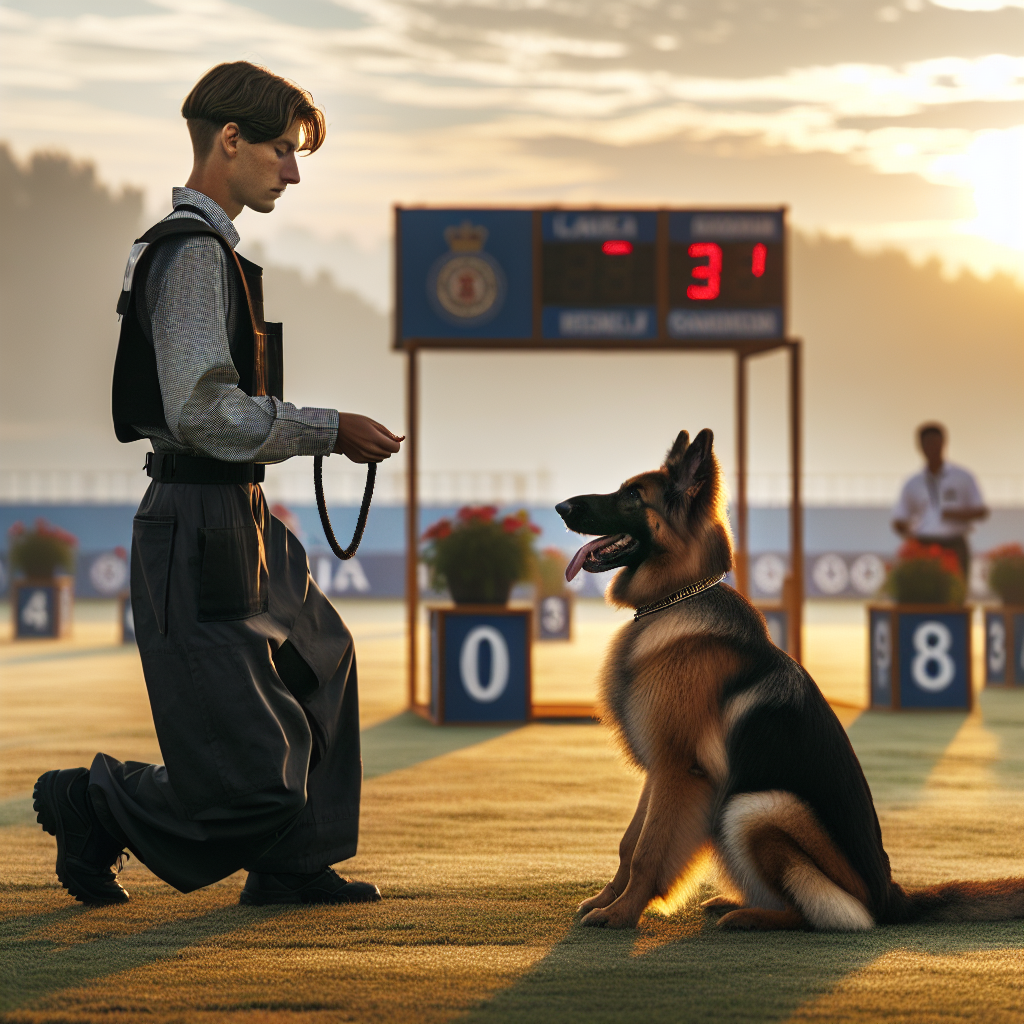
After the out, require a guard with quiet focus. The dog should show stillness and intent but stay neutral. When the picture is correct, give your reengage cue and let the helper present a fair, clean bite. If the dog breaks neutrality, reset the picture calmly and try again. Your patience here is what proves the routines when drive spikes.
Stage 7 Proofing Under Trial Like Stress
Build proofing gradually. Add distance. Add a pause before the reengage. Work on different fields and surfaces. Change helpers but keep the rules the same. If latency creeps up, slip back one step and sharpen criteria. This is how to teach clean outs that survive real pressure.
Handling Common Problems When Teaching Clean Outs
Even with a solid plan, dogs and handlers are individuals. Here is how Smart Dog Training resolves common issues while staying fair.
Chewing or Regripping
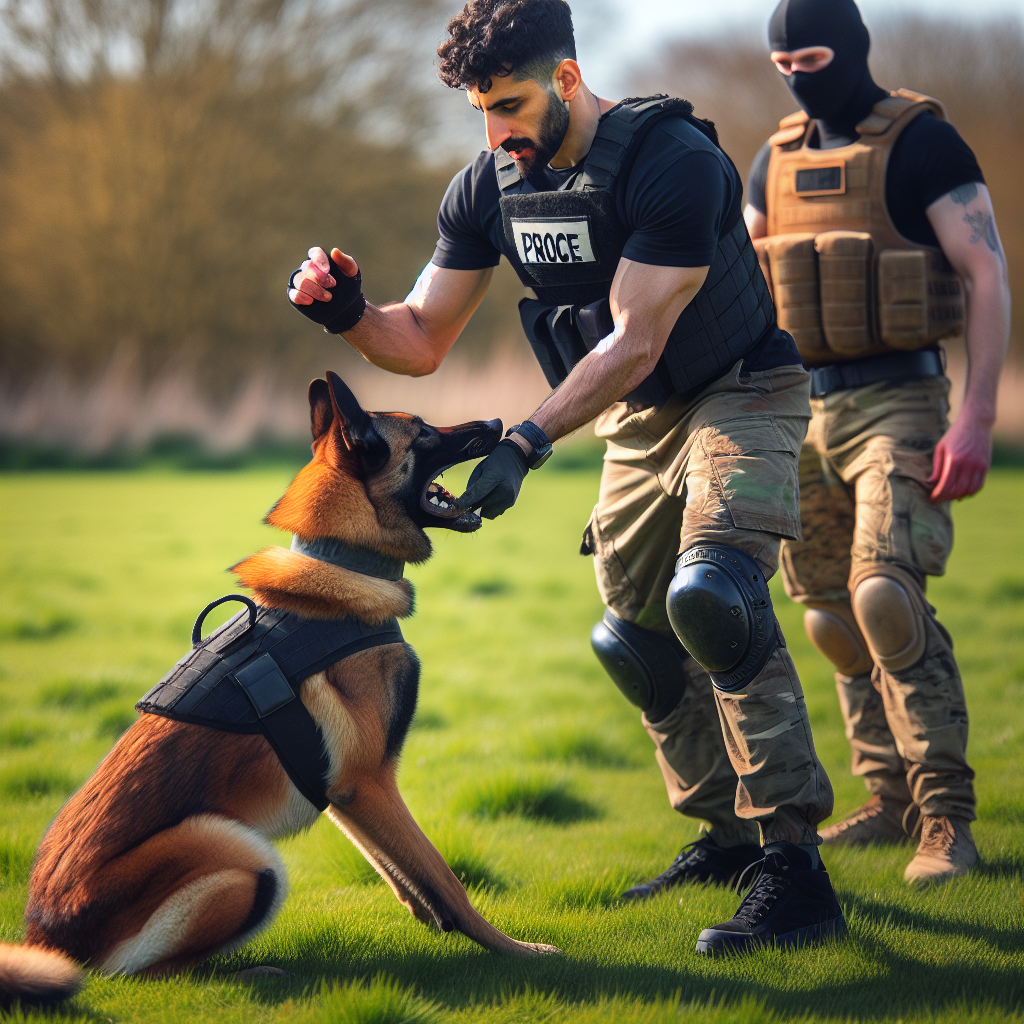
Problem. The dog chews when you cue out. Solution. Freeze the picture. Keep the sleeve or tug still. Hold neutral body posture. When the dog stills the grip, mark good. Then cue out once. Reward with a fast reengage for the first clean release. Repeat. A still target reduces chewing and makes the right choice simple.
Delayed Release or Silent Outs
Problem. The dog pauses before releasing. Solution. Improve motivation. Make the reengage faster and more exciting after a clean out. Add mild fair line pressure the moment you cue out and release pressure the instant the mouth opens. If you wonder how to teach clean outs with speed, remember to pay speed. Mark faster releases with a higher value reengage.
Vocalising or Spinning After the Out
Problem. The dog barks or spins after the out. Solution. Reinforce neutrality. After the release, require a quiet guard. Mark good for stillness. Reengage only from that picture. If the dog vocalises, reset calmly. Over a few sessions the dog learns that calm brings bites and noise brings resets.
Handler Tension and Mixed Signals
Problem. The handler speaks twice or moves during the cue. Solution. Say out once. Then be still. Keep hands quiet. Do not repeat cues. The more predictable you are, the faster the dog learns. This single change often solves the question of how to teach clean outs efficiently.
Safety, Equipment, and Handler Mechanics
Good mechanics make training safe and clear. Smart Dog Training sessions are structured to reduce risk and keep learning strong.
Lead Use and Line Handling
Use a smooth line that slides easily. Avoid sudden jerks. Line pressure is a steady signal, not a correction. Keep the line out of the mouth. Stand balanced with knees soft. Breathe and wait. Patience teaches faster than force.
Helper Coordination and Timing
The helper must be consistent. The helper freezes on the out cue and stands tall. No knee bumps or sleeve pulls. When you mark yes, the helper delivers the reengage fast and clean. If you are unsure how to teach clean outs with a helper, book a session with an SMDT so everyone is in sync.
Session Structure and Reps
Keep it short. Three to five quality reps per session is enough at first. End on a win. If a rep slips, reset and finish with an easier picture. Small wins build the habit you want.
Metrics and Criteria for a Clean Out
Training improves what you measure. Use simple metrics so you know when to progress.
Timing, Latency, and Neutrality
- Latency. Time from cue to full release. Target under one second for sport.
- Neutrality. Dog stays quiet and still after the out until the next cue.
- Clean mouth. No chewing or regripping after the cue.
When you ask how to teach clean outs that score, these three measures guide your plan.
Building Reliability Anywhere
Test on new fields, with new helpers, and in new weather. Keep your rules identical. If latency or neutrality slips, go back one stage. With Smart Dog Training you will see how to teach clean outs that hold because the dog sees the same picture every time.
When to Work with a Professional
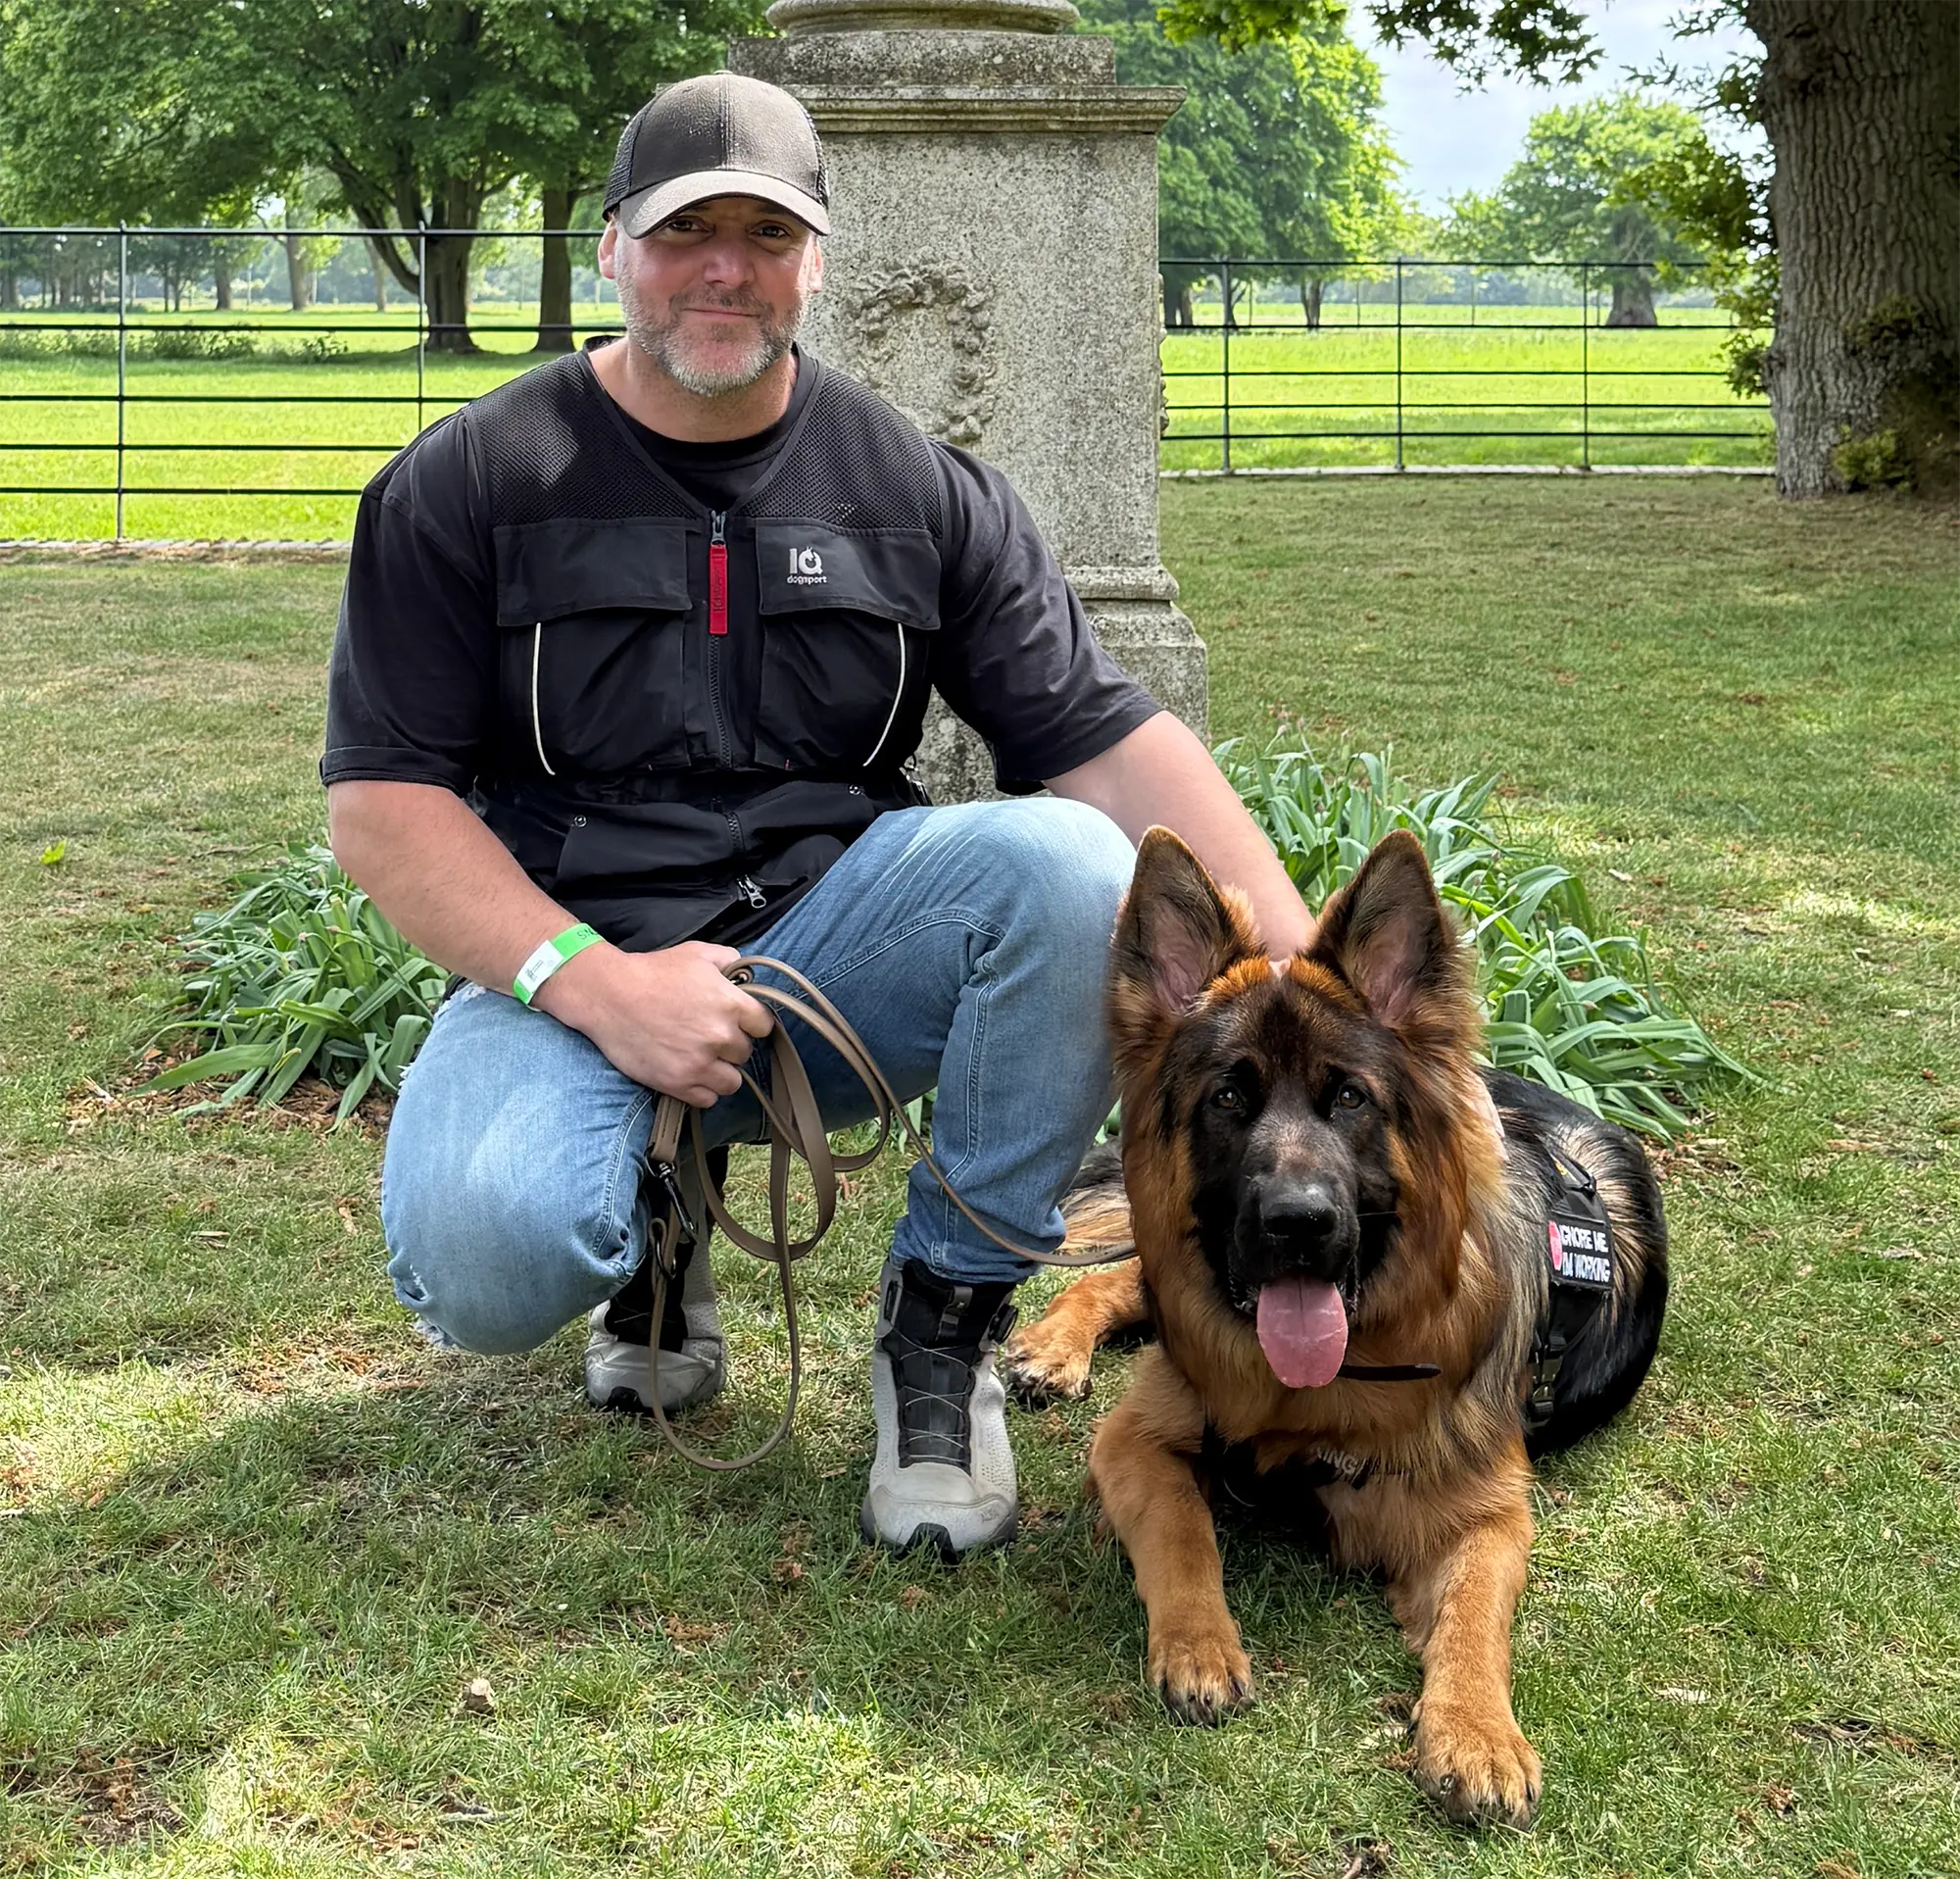
There is a time to get hands on help. Power, genetics, and drive make protection work unique. A certified Smart Master Dog Trainer has the eye, timing, and helper skills to speed learning and keep it safe.
Benefits of an SMDT in Real Life
- They set the correct picture on day one.
- They fix handler mechanics and timing.
- They coordinate helper actions with your markers.
- They plan the right progression for your dog.
Ready to turn your dog’s behaviour around? Book a Free Assessment and connect with a certified Smart Master Dog Trainer available across the UK.
How Smart Progresses the Out to Protection
We start with toy work, then move to sleeves, then full scenarios. Every step follows the Smart Method and proves the skill under more drive and distraction. If you want a guided path on how to teach clean outs with confidence, our trainers will lead you through each stage and keep standards high.
FAQs on How to Teach Clean Outs
What is the fastest way to start if I am new to how to teach clean outs
Begin with a tug. Teach a single out cue in calm arousal. Pay clean releases with fast reengage. Keep reps short. Build speed only after the behaviour is clear.
How often should I train when working on how to teach clean outs
Three to five short sessions per week is ideal. Each session can be five to ten minutes. Stop while the dog still wants more.
Can I fix a late out using only food when learning how to teach clean outs
Food can help for calm clarity, but the out in drive is maintained by the promise of reengage. Use toy or bite rewards to keep motivation aligned with the task.
My dog vocalises after the release. How do I handle this while learning how to teach clean outs
Do not reengage from noise. Mark and reward only quiet neutrality after the out. If noise continues, reset and lower arousal. Reward the first quiet second.
Should I repeat the cue when thinking about how to teach clean outs under stress
No. Say the cue once. Repeating weakens the command and confuses the dog. Use stillness and fair line pressure. Release pressure the instant the mouth opens.
When should I move from tug to sleeve if my goal is how to teach clean outs for sport
When your tug out is fast, clean, and stable for at least three sessions in a row. Only then transfer to sleeve so the dog recognises the same rules in a new picture.
What if my dog regrips after the out during practice of how to teach clean outs
Freeze the picture. Reset calmly. Reduce arousal. Reward the first clean release and neutral second. Build the guard picture before adding reengage speed again.
Conclusion
Clean outs are not a mystery. They are a product of clarity, fair pressure and release, strong motivation, and careful progression. When you follow the Smart Method you build trust and predictability, which is why our clients see reliable results in both sport and real life. If you want expert guidance on how to teach clean outs, our team will coach your handling, coordinate your helper, and set the right criteria so your dog learns fast and stays confident. Your dog deserves training that truly works. With certified Smart Master Dog Trainers SMDTs nationwide, you will get proven results backed by the UKs most trusted dog training network. Find a Trainer Near You


