How to Teach Neutrality Around Toys

Introduction to Neutrality Around Toys
You are here to learn how to teach neutrality around toys. That choice speaks to a higher goal than simple obedience. Neutrality is the ability to remain calm and responsive in the presence of exciting objects. It means your dog can see, hear, or even brush past a toy yet stay focused on you until released. At Smart Dog Training, this ability is not optional. It is a core outcome of every programme because it underpins safety, confidence, and real life reliability.
If you are wondering how to teach neutrality around toys in a way that works in the living room and at the park, you are in the right place. This guide follows the Smart Method, our structured system used by every Smart Master Dog Trainer. You will learn clear steps, coaching cues, typical pitfalls, and how to progress without guesswork. The result is calm behaviour that lasts, not temporary tricks.
What Neutrality Around Toys Really Means
Neutrality is not disinterest forever. It is controlled interest anchored to your leadership and release words. Your dog learns that toys are not self service. They are available through you, and only when you say so. When clients ask how to teach neutrality around toys, the short answer is to blend clarity, motivation, and fair accountability so the dog chooses calm every time.
Signs your dog is neutral around toys:
- Eyes and body remain relaxed when toys appear
- Responds to name, sit, down, or heel near toys
- Waits for a clear release before moving to a toy
- Can walk past toys on the floor without diving in
Neutrality is the opposite of frantic grabbing, vocalising, or fixating. It is trained behaviour that becomes a habit through the Smart Method progression.
Why Neutrality Matters in Real Life
Before we dive into how to teach neutrality around toys, it helps to understand why it matters. Toys are not just for play. They are common triggers for impulse spikes. At home, they can cause guarding or panic when visitors arrive. In public, a stray ball or squeaker can pull your dog into traffic. On walks, off lead play can go from fun to frantic in seconds if neutrality is missing.
When your dog truly learns how to teach neutrality around toys within the Smart framework, you gain:
- Reliable focus under distraction
- Safer greetings with children and guests
- Cleaner play sessions that build skills, not arousal
- Confidence to enjoy parks and classes without chaos
The Smart Method Foundation for Toy Neutrality
Everything we teach at Smart Dog Training runs through the Smart Method. If you want consistent results with how to teach neutrality around toys, anchor your work to these five pillars:
- Clarity. Simple marker words and precise timing tell the dog when they are right and when to try again.
- Pressure and Release. Light, fair guidance helps the dog make the correct choice. Release and reward make that choice valuable.
- Motivation. Food and praise build engagement so the dog wants to work with you in the presence of toys.
- Progression. Distraction, duration, and difficulty are layered step by step until neutrality holds anywhere.
- Trust. Calm, consistent leadership grows a bond that turns training into a shared language.
Every Smart Master Dog Trainer follows this framework. It is how our teams across the UK deliver the same high standard for families and professionals alike.
Tools and Setup for Success
The right setup makes it easier to apply how to teach neutrality around toys. Prepare this simple kit:
- Flat collar or well fitted training collar appropriate for your dog
- Standard 1.8 to 2 metre lead plus a 5 to 10 metre long line for proofing
- Two to three low value toys to start, such as a plain ball or soft tug, then higher value toys later
- Small food rewards that your dog likes but does not go wild for
- Defined training space with minimal clutter
Keep toys you are not using out of sight. Neutrality begins with controlled exposure rather than flooding.
Safety and Rules Before You Start
Consistency makes how to teach neutrality around toys work. Set these rules first:
- Toys live with you, not on the floor. You present them and you put them away.
- No unsupervised toy time during training phases.
- Use one release word only, such as Free or Break, and do not pair it with other chatter.
- End every session while your dog is successful and calm.
Health note. If your dog shows signs of pain or frustration that seem out of proportion, pause and seek help. A structured assessment with a Smart trainer can fast track your plan.
Marker Language and Clarity
Neutrality depends on what your dog understands. In the Smart Method we keep markers simple:
- Yes. Marks correct behaviour and delivers a reward to you, not to the toy.
- Good. Sustains behaviour calmly. Often paired with duration work near toys.
- No. Neutral information that a choice was not correct. Reset and guide.
- Free. Clear release to move, which may include permission to take the toy later in training.
When you are learning how to teach neutrality around toys, make sure your markers are clean, consistent, and backed by fair guidance.
Step One Build Engagement Away From Toys
Start well before toys enter the picture. If you want how to teach neutrality around toys to stick, first create a powerful habit of choosing you.
Drills to use:
- Name game. Say your dog’s name. When they look at you, mark Yes and feed. Reset by looking away. Repeat briskly for 1 to 2 minutes.
- Hand target. Present your hand. When the dog touches, mark Yes and feed to your hand. This becomes a quick reset tool during toy work.
- Positions. Practice sit, down, and heel with smooth transitions and calm rewards.
Keep sessions short and upbeat. Your dog learns that engagement pays. This foundation is vital to how to teach neutrality around toys during later steps.
Step Two Controlled Exposure to Toys
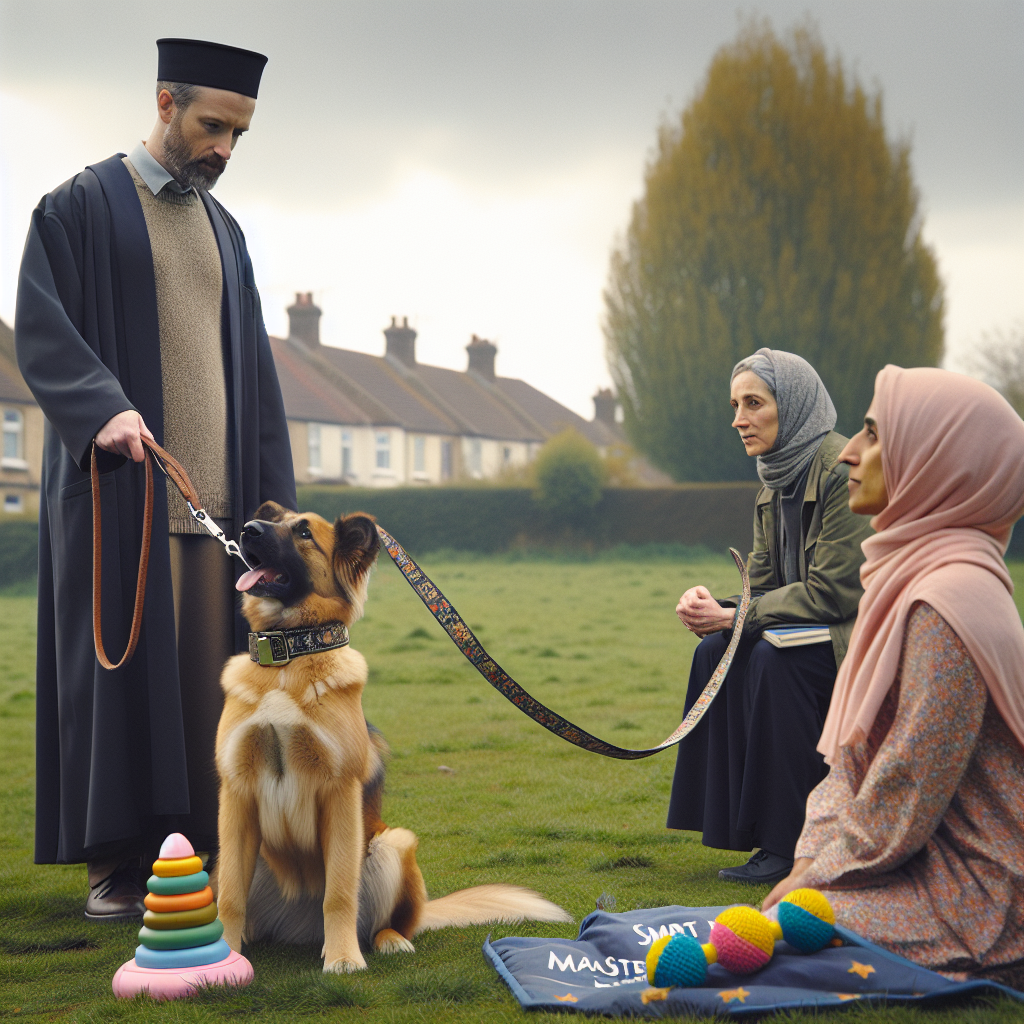
Introduce a low value toy. Place it on the floor two to three metres away while your dog is on lead. The moment your dog sees the toy, you begin guiding choices.
Protocol:
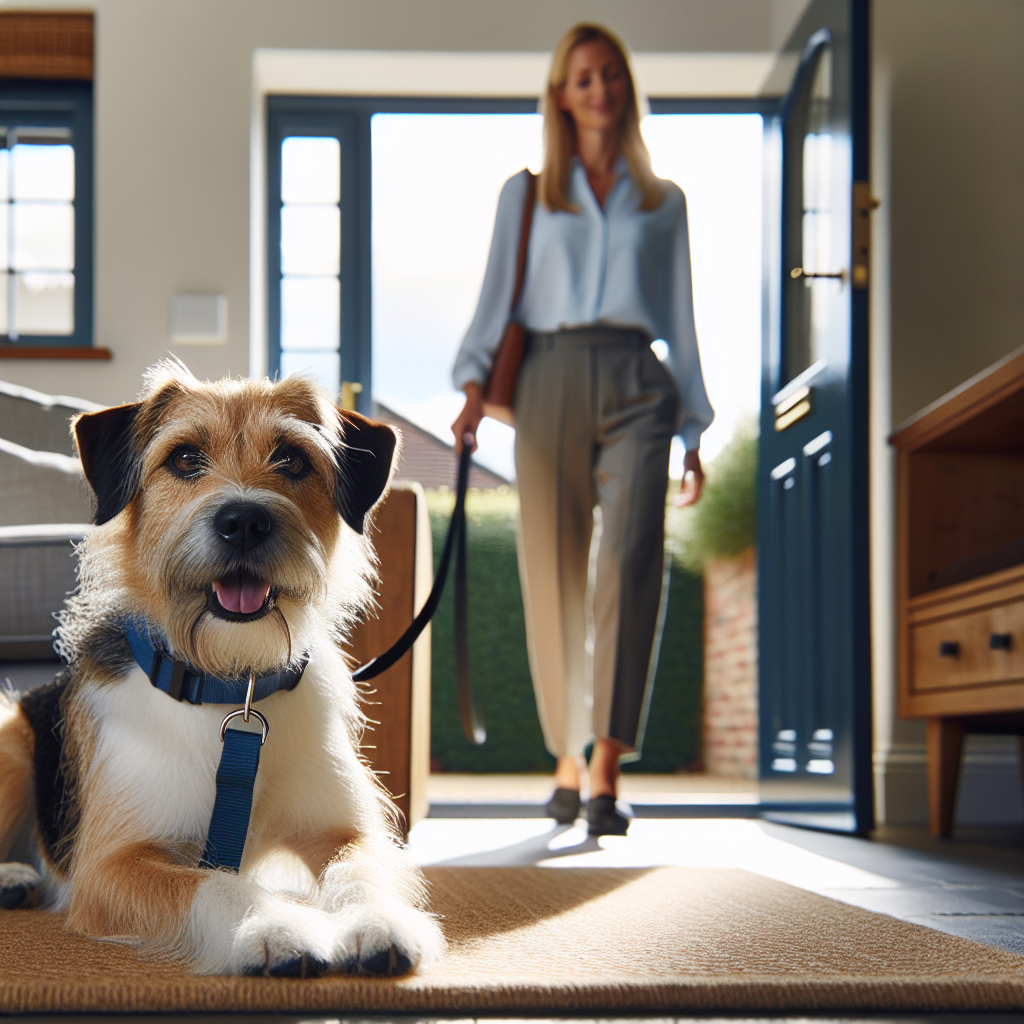
- Stand still. Ask for a sit or heel. If your dog stares at the toy, wait one second. If they look back to you, mark Yes and reward calmly to you. If not, guide a small step back with the lead and reset the sit.
- Repeat until your dog begins to flick eyes back to you quickly. This is the first brick of neutrality.
- Close the distance by half a metre. Repeat the look-back pattern until it is immediate. Avoid rapid praise or high energy that spikes arousal.
In how to teach neutrality around toys we do not use the toy yet. That comes after the dog proves calm choices. This is the Smart difference. We build clarity and accountability first, then increase privileges.
Step Three Pressure and Release to Build Accountability
Pressure and Release is a core pillar of the Smart Method. It is fair guidance, not force. Here is how to apply it to how to teach neutrality around toys:
- Pressure. If your dog forges toward the toy on lead, apply light, steady tension back to position. Keep your body still and calm.
- Release. The instant your dog softens and returns to position or looks at you, release tension, mark Good, and reward calmly.
This pairing teaches a clear lesson. Choices that move toward you and calm get release and reward. Lunging does not. Over a few sessions, your dog learns to regulate themselves in the presence of toys. That is the heart of how to teach neutrality around toys the Smart way.
Step Four Add Duration and Distraction
Once your dog regularly looks back to you near a toy, build staying power. Duration work turns quick choices into a steady habit.
Use the Good marker to hold a sit or down while you perform low level distractions. Examples:
- Take one step toward the toy then return
- Tap the toy with your foot without picking it up
- Lift the toy for one second then set it down
Any break of position gets a calm No and a reset. Correct behaviour gets Good, then a quiet food reward. Repeat until your dog can remain settled for 20 to 30 seconds with you handling the toy. If you ask how to teach neutrality around toys that generalises, this is the bridge between simple exposure and real life control.
Step Five Add Permission and Controlled Play
Neutrality does not mean your dog never gets the toy. It means the toy is earned through you. Here is how to weave that into how to teach neutrality around toys:
- Ask for a sit near the toy. You lift the toy. Dog holds position for three seconds. Mark Free and present the toy to your dog for one to two seconds of calm grip.
- Say Out or Give. Use a light collar guide if needed. When the toy releases, mark Yes and reward with food to your hand. Then reset.
- Lengthen calm holds and shorten toy access to avoid spiking arousal. You decide when the toy appears and when it goes away.
This creates a clear pattern. Calm earns access. Calm returns the toy. The dog learns to park excitement and follow your markers. That is a cornerstone of how to teach neutrality around toys with lasting results.
Step Six Proof in Real Environments
Generalise your work with distance, duration, and difficulty. This is where many owners struggle with how to teach neutrality around toys, since new places inflate excitement. Follow the Smart progression:
- Change locations slowly. From kitchen to garden, then quiet street, then park.
- Increase distance to known toys first, then reduce distance over sessions.
- Add movement. Walk past a toy on a long line, holding heel and eye contact.
- Introduce higher value toys only when previous levels are clean.
If your dog’s arousal climbs, drop difficulty and win easy reps. Smart training is about planned progression, not pushing through chaos.
Troubleshooting Common Mistakes
Here are the usual blockers we fix when clients learn how to teach neutrality around toys:
- Too much energy in rewards. Keep praise soft and food delivery calm. Excitable tone raises arousal.
- Inconsistent markers. Use the same words every time. Markers are your shared language.
- Free toy access between sessions. This erases structure. Keep toys with you.
- Too fast progression. If you move locations or value too quickly, neutrality cracks. Step back and rebuild clean reps.
- No release rules. Always end positions with a clear Free so your dog understands when they are done.
How to Teach Neutrality Around Toys With Puppies
Puppies soak up patterns. That makes how to teach neutrality around toys both easier and faster when you start early. Keep sessions short and light.
Focus points for puppies:
- More engagement games. Name game and hand target are your best tools.
- Very low value toys. Soft fabric or plain rubber. Avoid squeaks at first.
- Micro duration. Two to five seconds is a win for young pups.
- Gentle guidance. Pressure is minimal. Use your body position and lead management.
Do not allow free toy piles or chaotic tug. Neutrality now prevents guarding and over arousal later.
How to Teach Neutrality Around Toys With High Drive Dogs
High drive dogs love work. Channel that energy with structure. When planning how to teach neutrality around toys for these dogs, prioritise:
- Longer warm ups without toys to drain excess energy
- Extra distance from toys early on
- More repetitions of look-back drills before permission is introduced
- Short, crisp toy access with immediate Out and food to your hand
Be predictably calm. Your posture, breathing, and cadence matter. High drive dogs read everything.
Integrating Play Without Losing Neutrality
Play is powerful when used the Smart way. The key is that you control the start, the rules, and the end. If you ask how to teach neutrality around toys while still enjoying play, follow this sequence:
- Calm position holds near the toy
- Permission to take the toy briefly
- Out on request
- Return to a calm position before any chance of more play
Rotate toys so value stays balanced. Use structured tug or fetch only after your dog has earned neutral reps in that session. This pairing guards against backsliding.
Measuring Progress and When to Advance
Progress is not a feeling. It is observable behaviour. When coaching how to teach neutrality around toys, our trainers look for these benchmarks:
- Immediate look-backs on toy exposure at 3 metres, then 2, then 1
- Thirty seconds of calm position while you handle the toy
- Clean Out and return to position within two seconds
- Neutral heel past a toy on the ground without a cue
Hit two clean sessions in a row before you add difficulty. This keeps momentum high and reduces frustration.
When to Call a Professional
If you are stuck, do not guess. A short session with a Smart trainer can identify the gap quickly. We often find the issue is timing, intensity, or unclear markers. That is easy to fix with coaching. If you need help with how to teach neutrality around toys, book a no obligation session and we will set you up with clear steps.
Ready to turn your dog’s behaviour around? Book a Free Assessment and connect with a certified Smart Master Dog Trainer - available across the UK.
What a Smart Session Looks Like
Here is what to expect when you work with Smart Dog Training on how to teach neutrality around toys:
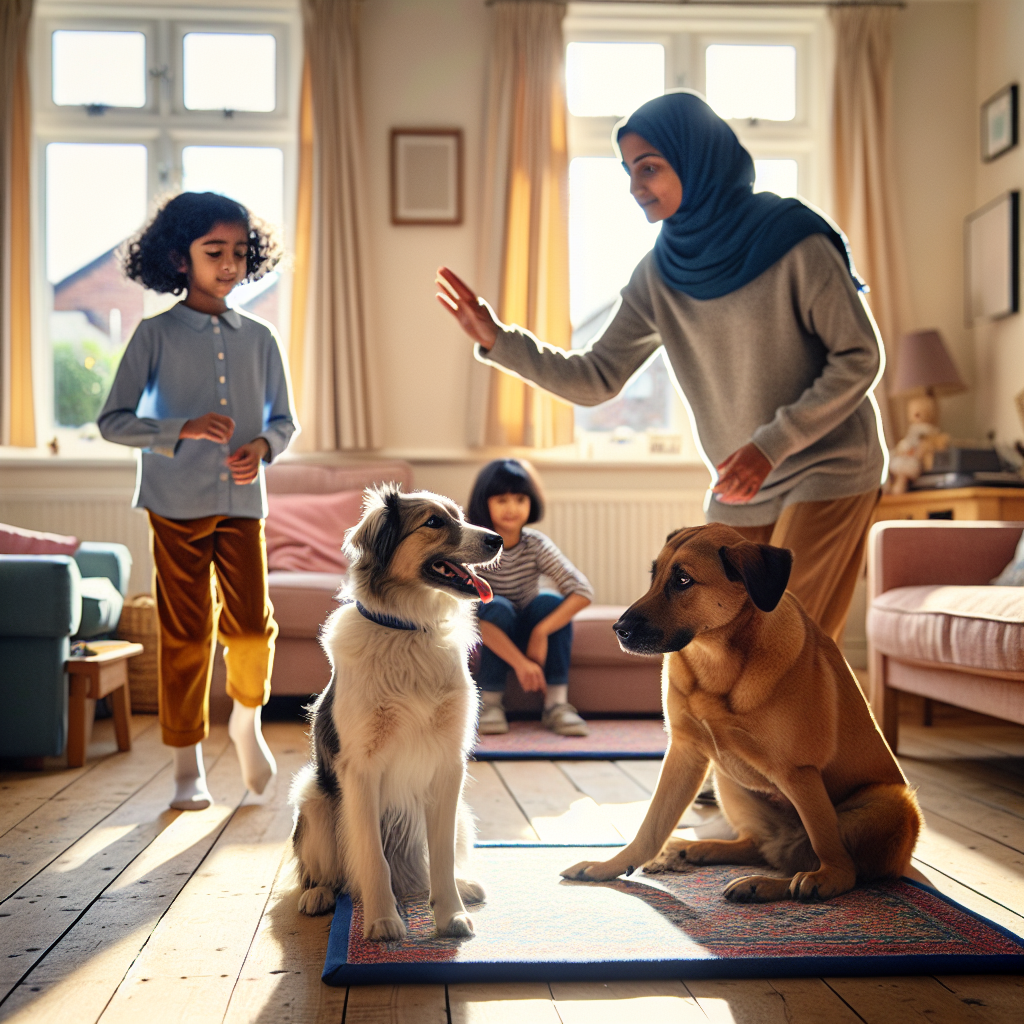
- In home or local session with an SMDT who assesses engagement, arousal, and handling
- Custom marker plan and lead handling practice before toys appear
- Step by step exposure to toys with Pressure and Release coaching
- Homework that fits your schedule and environment
Every certified SMDT is trained through Smart University and mentored for 12 months, so you receive the same standard wherever you live.
Progression Roadmap You Can Follow
Use this simple weekly structure to apply how to teach neutrality around toys:
- Week 1. Engagement games and marker fluency away from toys. Five minutes twice daily.
- Week 2. Controlled exposure to a low value toy. One to two minutes near the toy, two to three times per session.
- Week 3. Add duration and light movement around the toy. Keep arousal low.
- Week 4. Introduce permission and short toy access with Out on cue.
- Week 5. Proof in a quiet public space. Use a long line and lower value toys first.
- Week 6. Add higher value toys and busier environments once previous steps are clean.
Move forward only when your benchmarks are consistent. If struggles appear, step back one level and rebuild. That is smart progression.
Owner Handling Skills That Make the Difference
Neutrality is as much about you as it is about your dog. The following handling habits elevate how to teach neutrality around toys:
- Stillness. Your body should be calm. Avoid fidgeting or bouncing praise.
- Lead management. Keep the lead short enough to guide, not tight. Use smooth pressure and instant release.
- Voice. Quiet and clear. Marker words only. Praise after the marker, not before.
- Reward placement. Feed to your hand near your body to center your dog on you.
Small changes in your handling create big changes in your dog’s choices.
Advanced Neutrality Heel and Recall Around Toys
Once your dog is solid, link neutrality to movement and freedom. This is a common next step in how to teach neutrality around toys within Smart programmes:
- Neutral heel. Walk past toys placed at intervals. Reward eye contact at your left leg. If the dog glances at a toy then back to you, mark Yes and feed while walking.
- Long line recall. Allow gentle sniffing near a toy. Call once. If the dog turns, mark Yes and reel in the line smoothly, then reward to you. If not, guide with steady pressure until the turn happens, then release and pay.
These drills keep your dog accountable even when the world is busy.
FAQs About Toy Neutrality
How long does it take to learn how to teach neutrality around toys
Most families see meaningful change within two to three weeks of daily short sessions. Full reliability in public can take four to six weeks with steady practice.
Do I have to remove all toys from my home
During early training, yes. How to teach neutrality around toys relies on structure. Toys become privileges that you present and put away.
What if my dog growls or guards toys
Pause free access. Begin the controlled exposure steps at a greater distance. If guarding persists, book help. A Smart Master Dog Trainer will create a safe plan for your home.
Can I use treats and toys together
Yes, but in order. When applying how to teach neutrality around toys, food rewards pay the calm choices first. Toy access comes later on your release.
What if my dog ignores food when toys are out
Lower the toy value and increase distance. Build engagement first. As neutrality grows, food interest returns. This is common with high drive dogs and is part of how to teach neutrality around toys successfully.
Is this suitable for puppies
Absolutely. Gentle, short sessions are ideal. How to teach neutrality around toys is easier to install early than to fix later.
What if my dog will not Out the toy
Use a quick trade to your hand and pair with a calm collar guide. Mark Yes the instant the toy releases. Keep access short. If you struggle, an SMDT can clean up your timing fast.
How often should I train
Two to three short sessions per day beat long marathons. The Smart approach favours quality over quantity, especially for how to teach neutrality around toys.
Conclusion Next Steps
Now you have a complete, structured plan for how to teach neutrality around toys. You know how to set up your space, use clean marker language, apply Pressure and Release, and progress from simple exposure to real life reliability. If you keep your energy calm, manage access to toys, and advance only when benchmarks are met, you will see your dog choose you over the toy without conflict.
If you want coaching tailored to your dog and home, we are ready to help. Your dog deserves training that truly works. With certified Smart Master Dog Trainers (SMDTs) nationwide, you will get proven results backed by the UK's most trusted dog training network. Find a Trainer Near You


