Teach Dog to Wait for Food

Calm Mealtimes Start Here
If you want a dog that stays calm at the bowl, you are in the right place. In this guide you will learn how to teach dog to wait for food using the Smart Method. This structured, step by step system creates reliable manners and a relaxed routine you can repeat every day. You will see how clarity, fair guidance, and motivation work together to turn chaos into calm.
Every Smart programme is delivered by a certified Smart Master Dog Trainer, also known as an SMDT. Our trainers use one system across the UK, so your training and your results are consistent and predictable. When you teach dog to wait for food the Smart way, you get behaviour that lasts in real life, not just in a quiet kitchen.
Why Waiting for Food Matters
Teaching your dog to wait is about more than a neat trick. It builds impulse control, reduces stress, and makes your home safer. Dogs that rush the bowl can jump, bark, or even guard food. When you teach dog to wait for food, you replace that pattern with calm expectation. Your dog learns that patience brings the reward, which sets the tone for all training.
What It Means to Teach Dog to Wait for Food
Waiting for food is a clear picture. Your dog holds a sit or a place while you prepare or set down the bowl. You give a release word, and only then does your dog move to the food. The release is what turns waiting into a choice. Your dog is not frozen. They are choosing to hold the position because it pays. The Smart Method makes that choice clear and consistent.
The Smart Method for Mealtime Manners
Smart Dog Training uses one structured framework for every skill, including when you teach dog to wait for food. The five pillars guide how we set criteria, how we give feedback, and how we build confidence.
Clarity
We use simple commands and marker words so your dog always knows what is expected. For the bowl routine, you will use a position cue such as Sit or Place, a marker word such as Yes for correct choices, and a release word such as Free to end the wait.
Pressure and Release
We guide the dog fairly, then release that pressure the moment they make the right choice. In practice this can be a gentle leash stop when the dog tries to move early, then a quick release when they return to position. The release and reward teach the dog to take responsibility without conflict.
Motivation
Food rewards and praise create engagement and positive emotion. When you teach dog to wait for food, your dog sees the bowl as a chance to earn. We use small food rewards before the main meal to reinforce correct choices, then the bowl becomes the big payout.
Progression
We layer skills step by step. First we teach the position, then the release, then we add duration, distance, and distraction. By the time you set the bowl down and walk away, your dog has earned that level with many small wins.
Trust
Dogs learn faster when they trust the picture. You will keep criteria fair and repeatable. This builds a strong bond and makes the routine safe and predictable. When you teach dog to wait for food with the Smart Method, trust grows on both sides.
Before You Begin
Good training starts with a good setup. A quiet space and the right tools make it easier to teach dog to wait for food and to keep sessions short and upbeat.
What You Need
- Flat collar or well fitted harness and a standard lead
- Non slip mat or raised bed for the Place cue
- Your marker word and release word chosen in advance
- High value bite size food rewards for rehearsal before the main meal
- Your dog’s normal meal in a stable bowl
Ideal Setup and Safety
- Work in a quiet area with minimal distractions
- Feed on a non slip surface so the bowl does not slide
- Keep children away from the training area at first
- If your dog has shown signs of food guarding, use a lead and begin with extra distance for safety
How to Teach Dog to Wait for Food Step by Step
Follow this sequence to build a calm and confident routine. Keep sessions short. Two to five minutes is ideal. Then feed the main meal as the final reward.
Step 1 Create a Clear Picture
Ask for Sit or guide your dog onto Place. Mark with Yes the moment your dog hits the position. Give a small food reward. Repeat five to eight times. If your dog breaks, reset with calm hands and guide back into the position. The goal is a crisp position and a dog that understands the task.
Step 2 Add a Release Word
With your dog in position, pause one second, then say Free and encourage a step toward you. Mark the movement with Yes and reward from your hand. The reward comes after the release. This teaches your dog that movement happens on your word. Repeat several times so the sequence feels natural.
Step 3 Introduce Duration
Build a small wait before the release. Try one to three seconds first. If your dog holds the position, mark with Good to acknowledge the hold, then say Free and reward. If your dog breaks early, calmly guide back to position and reduce the time. The dog learns that holding brings reward and release. Breaking early brings no reward and a quick reset.
Step 4 Add the Bowl as a Distraction
Place the empty bowl on a counter or hold it at your side. Ask for Sit or Place. If your dog stays still, mark Good. Lower the bowl a few inches, then bring it back up if your dog leans or moves. When your dog holds the position with the bowl moving, say Free and reward from your hand. Repeat until your dog can ignore the bowl motion.
Step 5 Lower the Bowl to the Floor
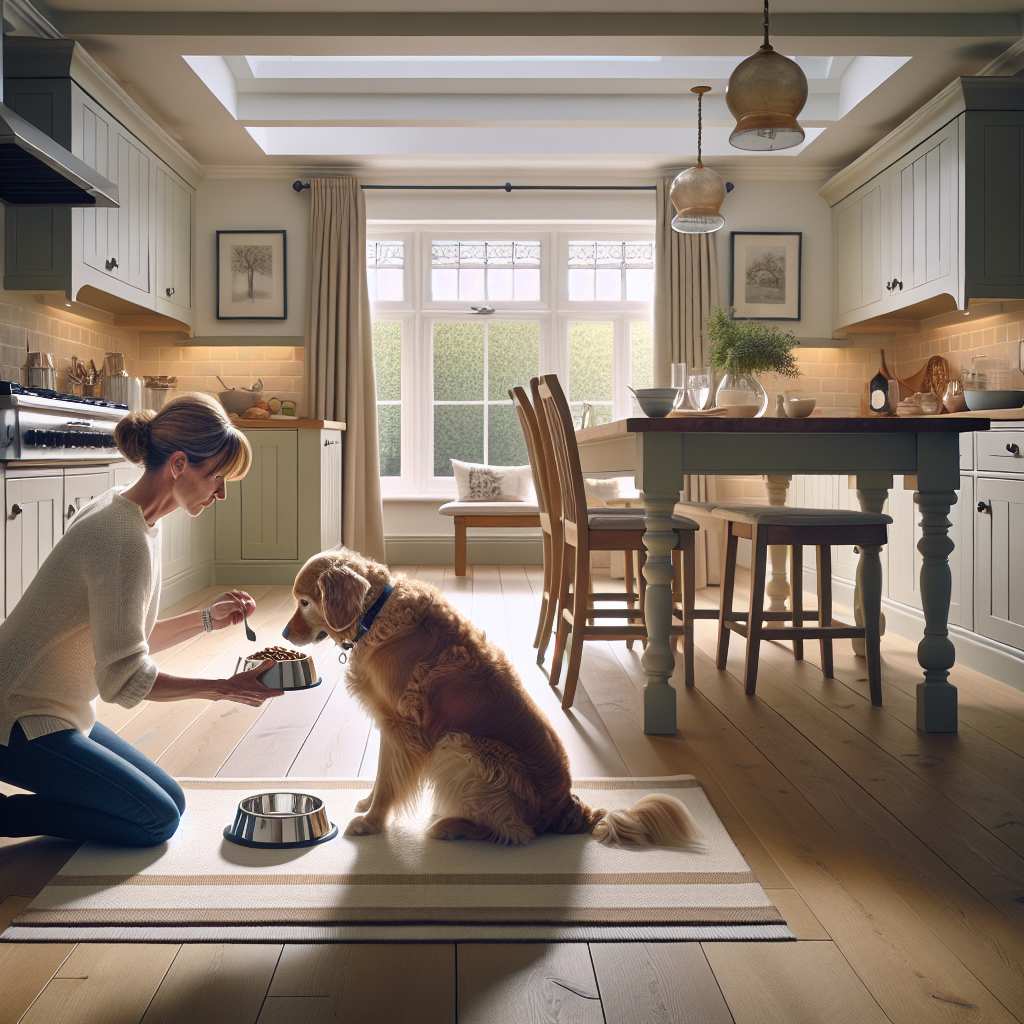
With your dog in position, lower the bowl part way, then return it to your chest. If your dog holds the wait, mark Good. If your dog moves, calmly reset and try again with a shorter motion. When your dog can hold as the bowl touches the floor, stand up, pause one second, then say Free to release. Allow the dog to move to the bowl and eat as the earned reward.
Step 6 Add Distance and Movement
Once you can set the bowl down without movement, add one small step away from the dog after placing the bowl. Return to your original spot, pause, then release with Free. Over time add more steps, turn your back, or walk around the dog. This builds real world reliability.
Step 7 Proof with Real Life Distractions
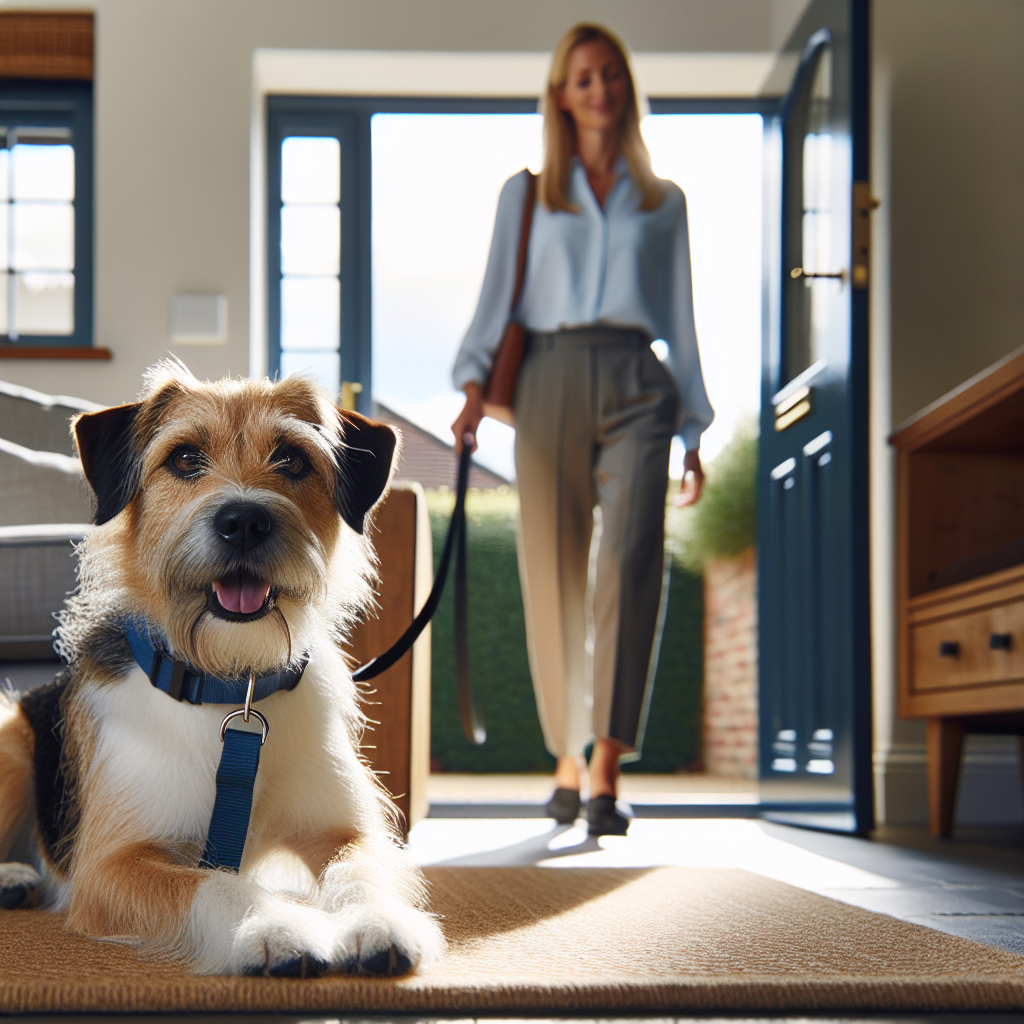
Test with doors opening, family moving, or other daily sounds. Keep the lead on at first for fair guidance. If your dog breaks, reset, shorten your criteria, and feed wins. The goal is not to catch mistakes. The goal is to help your dog succeed often.
By this point you have used every pillar of the Smart Method. You have clarity with commands and markers. You have fair guidance with timely release. You have motivation with rewards. You have progression with added challenge. You have trust because the routine always makes sense.
Food Bowl Protocol Using the Smart Method
Here are two Smart routines you can use to teach dog to wait for food in a clean and repeatable way. Choose one method and keep it the same each day.
The Sit and Wait Routine
- Ask for Sit away from the feeding spot
- Hold the bowl at your chest and pause one second
- Lower the bowl to the floor while your dog holds the sit
- Stand upright, wait one to three seconds
- Say Free and point to the bowl as your release
If your dog breaks at any point, lift the bowl and calmly reset. Reduce the challenge and try again. This routine keeps a clear picture of stillness until the release.
The Place and Wait Routine
- Send your dog to Place on a mat or bed
- Mark Good for holding position while you prepare the bowl
- Set the bowl down and return to a neutral spot
- Pause, then say Free for the release
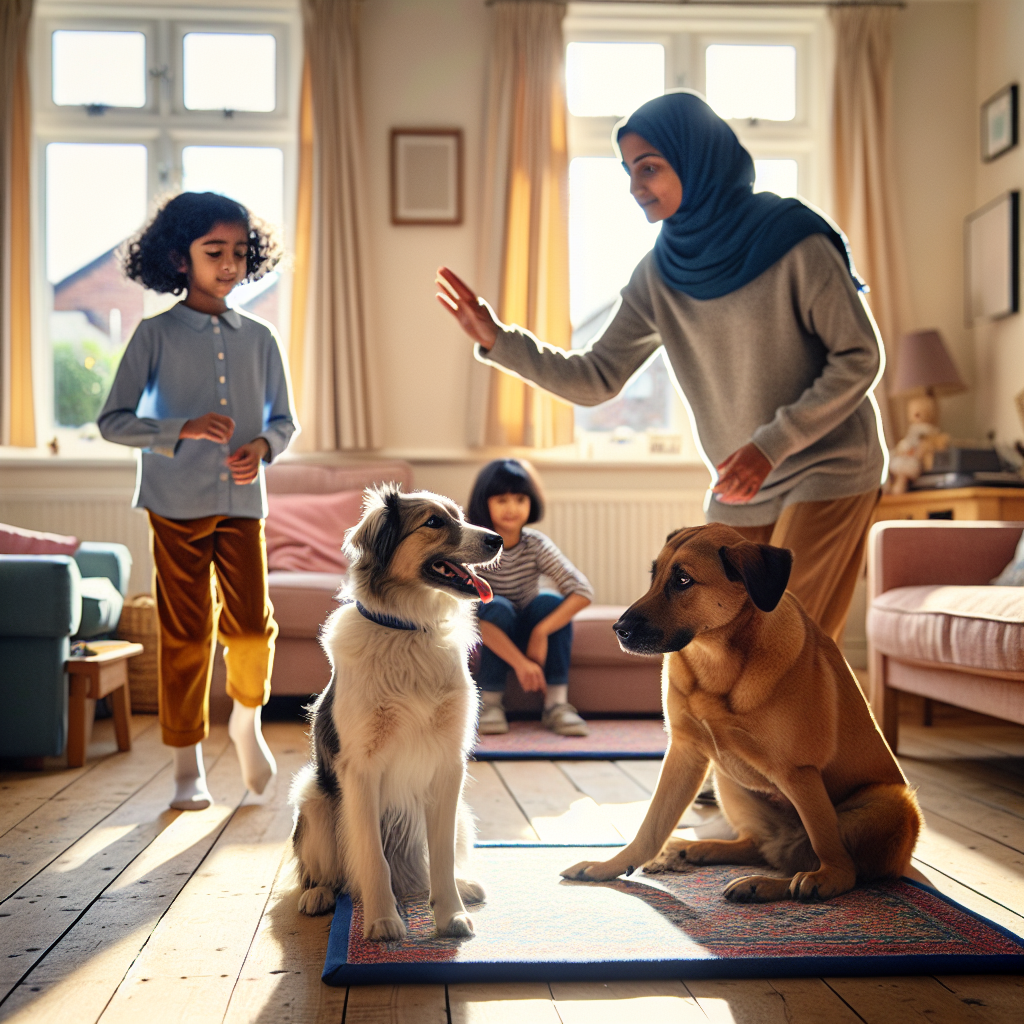
The place routine is ideal for busy homes. It creates a defined boundary. It also transfers easily to many contexts such as visitors at the door or meal prep at the counter.
Teaching Puppies and Adult Dogs
Puppies can start from day one. Keep the wait very short and the tone light. It is normal for pups to wiggle or chirp. Mark and reward the first moment of stillness, then release quickly. Two or three good reps, then feed the meal.
Adult dogs can learn fast, even if habits are strong. At first, the excitement around food may be high. You may need to spend a session or two on Steps 1 to 3 before you ever lower the bowl. Patience here pays. Many adult dogs can learn to wait calmly within a week when you teach dog to wait for food using this plan.
Common Mistakes and How to Fix Them
- Inconsistent release word. Pick one release word and use it every time
- Talking too much. Short, clean cues are easier to understand
- Rushing the steps. Add challenge only when your dog is ready
- Feeding when the dog is spinning or barking. Wait for a moment of calm, then release
- Setting the bowl down while your dog is already moving. Lift the bowl and reset the picture
Troubleshooting Specific Behaviours
Barking or Demand Noise
If your dog barks while you prepare the bowl, pause and stand still. The moment the barking stops, mark Good, then continue the process. If barking returns, pause again. Your dog learns that quiet moves the routine forward. Barking does not.
Jumping or Pawing
Start with the lead on. If your dog jumps, step slightly off to the side and guide back into Sit or Place. Reduce excitement by slowing your movements. Reward small moments of stillness. Over a few sessions, jumping fades as the dog sees a better way to earn the meal.
Leaning Toward the Bowl
Leaning is a sign your criteria are too high. Simply raise the bowl and try a shorter motion. Mark and reward a firm sit or a still Place, then release cleanly.
Bowl Guarding or Stiff Posture
If your dog freezes, growls, or guards the bowl, safety comes first. Put a lead on, increase distance, and go back to earlier steps. Do not reach toward your dog or the bowl. This is the right time to work with a Smart professional. An SMDT will assess the picture, adjust handling, and set a safe plan so you can teach dog to wait for food without risk.
Multi Dog Households
When you have more than one dog, structure matters. Teach each dog the routine alone first. Once each dog can wait, put them on Place mats several feet apart. Feed the most stable dog first to set the tone. If one breaks early, lift that bowl and reset. Over time, the group routine becomes calm and smooth.
- One handler per dog at the start if possible
- Use names to release each dog one at a time
- Keep bowls well apart to prevent conflict
- Collect bowls when finished to avoid swapping and guarding
Progressing Beyond the Kitchen
Waiting for food is the start of something bigger. Once your dog understands the release concept, you can apply it everywhere. Doorways, car exits, toy play, and greeting visitors all benefit from the same pattern. The Smart Method does not teach tricks in isolation. It builds a lifestyle of calm choices.
Tracking Progress and Setting Criteria
When you teach dog to wait for food, write down your criteria so you keep them fair and clear. Try this simple plan.
- Day 1 to 2 Position and release only
- Day 3 to 4 Add one to three seconds of duration
- Day 5 Add bowl movement, then bowl to floor
- Day 6 Add one step away, then two
- Day 7 Add mild household distractions
If mistakes rise above two in a short session, lower the criteria and finish with an easy win. Success compounds when you stay patient and consistent.
When to Get Professional Help
If you are struggling to teach dog to wait for food after a week of practice, or if you see signs of guarding, bring in a pro. A Smart Master Dog Trainer will assess your handling, the environment, and your dog’s emotional state. Our trainers follow the same Smart Method used in every programme, so you get a clear plan and fast improvement.
Ready to turn your dog’s behaviour around? Book a Free Assessment and connect with a certified Smart Master Dog Trainer, available across the UK.
FAQs
How long does it take to teach dog to wait for food?
Most dogs learn the basics in three to seven days with two short sessions per day. Strong habits or high arousal can take longer. Stick to the steps and keep criteria fair.
What release word should I use?
Choose a short word you do not say in daily chat. Free or Break are common choices. Use it only to end the wait, then reward movement with the bowl or a treat.
Should I use a clicker or a marker word?
A marker word is perfect for this routine. It is quick and easy in the kitchen. Use Yes to mark correct choices and Good for sustained holding. Keep your tone calm and clear.
Can I teach a puppy to wait for food?
Yes. Puppies can start on day one. Keep the wait very short and reward the first second of stillness. End on a win and feed the meal as the big reward.
What if my dog refuses to eat after I start training?
Some dogs pause when the pattern changes. Keep sessions playful, reduce the wait time, and let your dog eat in a quiet space. If appetite stays low, pause training and consult your vet. When appetite is normal, resume with easy criteria.
What if my dog breaks the wait as I lower the bowl?
Simply lift the bowl and reset. Reduce your motion and reward small wins. With a few short sessions, your dog will learn that stillness makes the bowl appear and movement too soon makes it go away.
Is it okay to feed from the hand during training?
Yes. Small hand fed rewards help teach the pattern before the main meal. The bowl remains the biggest payout and comes after the release word.
Do I need a Place mat?
No, but it helps. A defined boundary makes the picture very clear. Many families find Place training useful in other areas such as guests at the door or meal prep time.
Conclusion
When you teach dog to wait for food with the Smart Method, you build more than manners. You create a daily pattern of calm choices. Clarity tells your dog what to do. Fair guidance shows your dog how to do it. Motivation keeps your dog engaged. Progression turns small wins into big results. Trust makes the whole routine feel safe and kind. With this structure in place, mealtimes become relaxed, predictable, and a true bonding moment.
Your dog deserves training that is consistent and effective. If you want expert support, Smart Dog Training has certified trainers across the UK who can guide you through each step with confidence.
Your dog deserves training that truly works. With certified Smart Master Dog Trainers (SMDTs) nationwide, you'll get proven results backed by the UK's most trusted dog training network. Find a Trainer Near You


