Transitioning From Toy to Sleeve

Transitioning From Toy to Sleeve The Smart Method
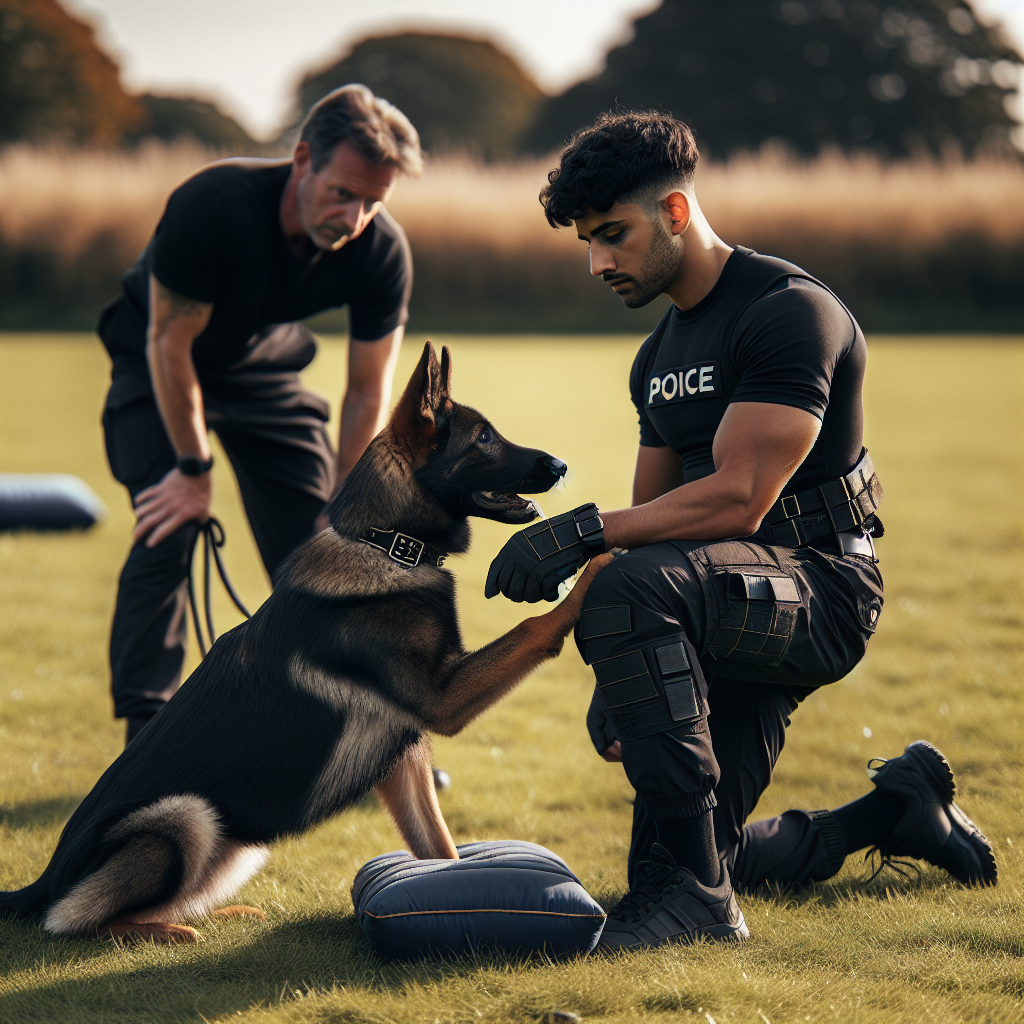
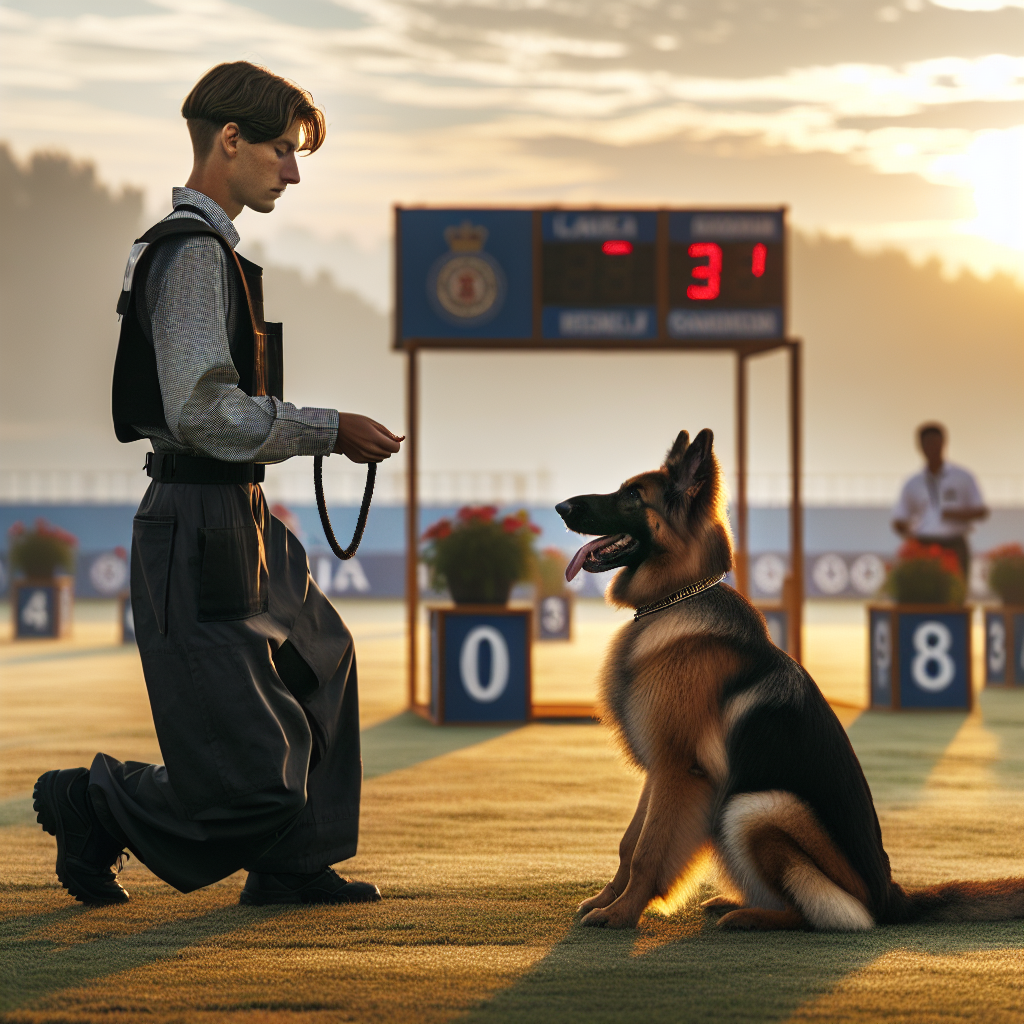
Transitioning from toy to sleeve is the moment your dog turns play into purposeful work. Done well, it builds clean grips, calm outs, focus under pressure, and a confident attitude. Done poorly, it creates shallow bites, frantic arousal, and conflict. At Smart Dog Training, transitioning from toy to sleeve follows the Smart Method, which blends clarity, motivation, progression, and trust to produce reliable behaviour in real life and on the training field.
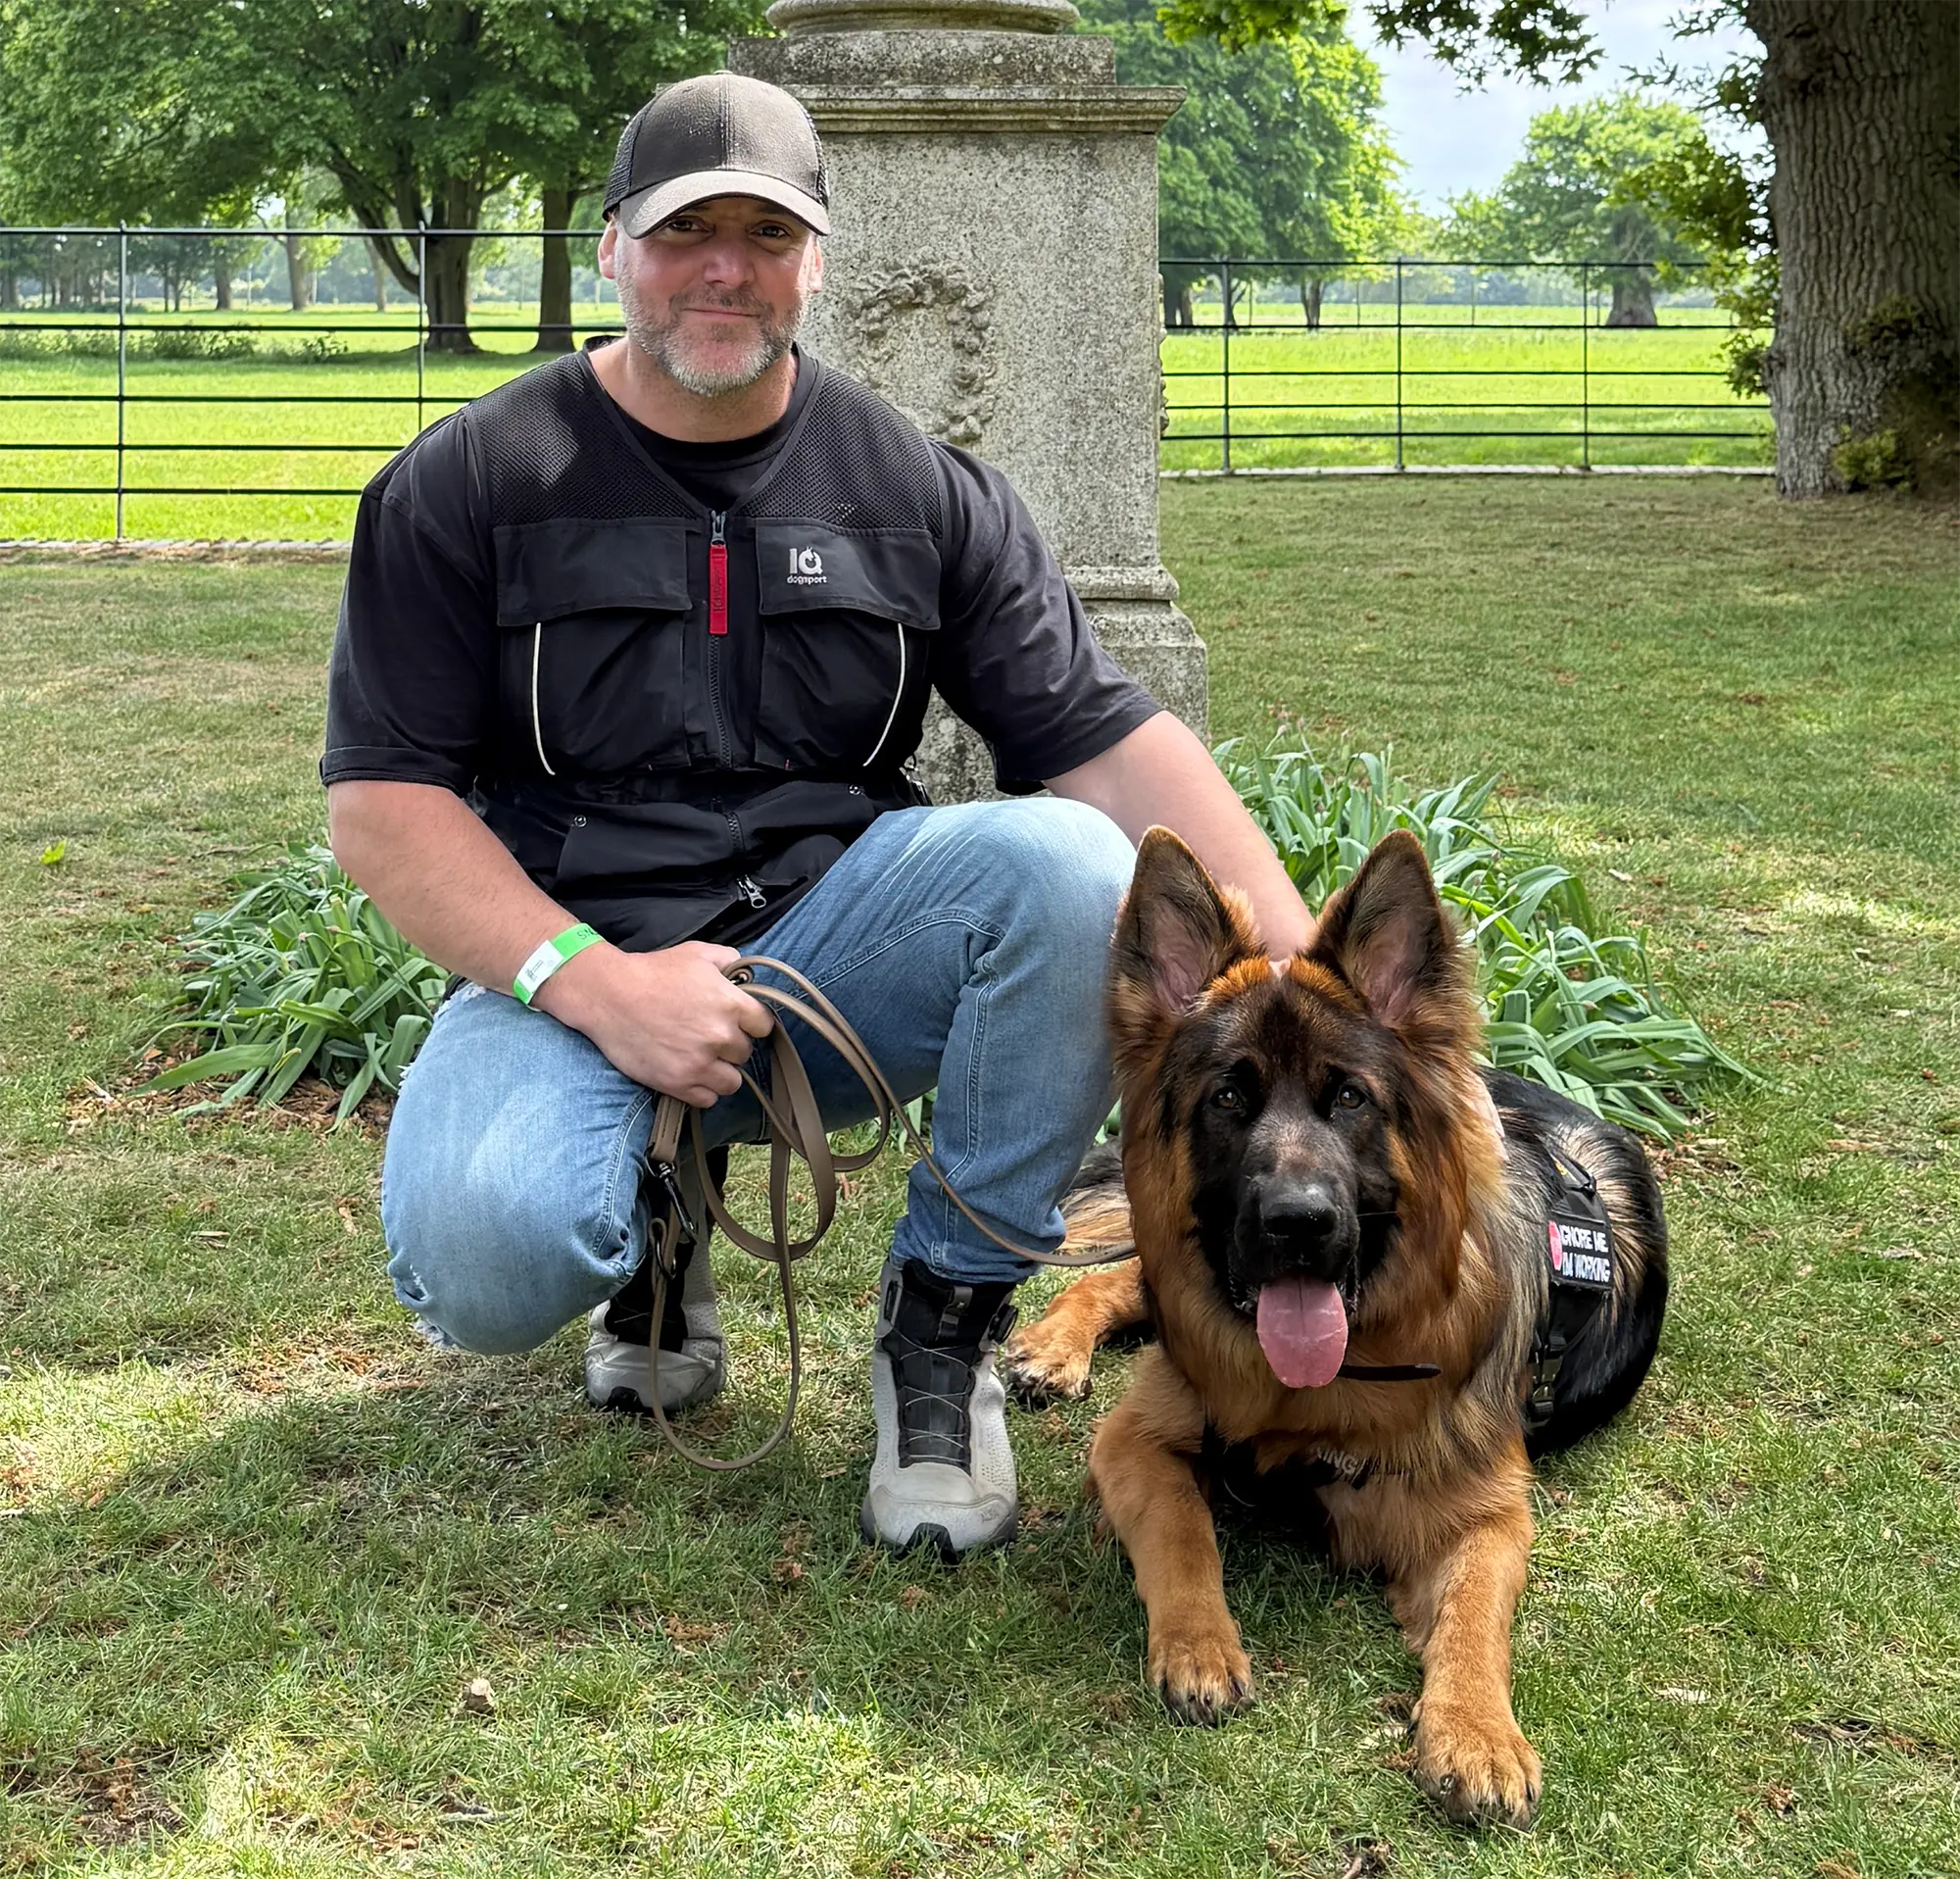
If you want this transition to be smooth and safe, work with a certified Smart Master Dog Trainer. An SMDT will guide your mechanics, sleeve presentation, and timing so your dog learns exact rules that carry over to every session.
What Transitioning From Toy to Sleeve Really Means
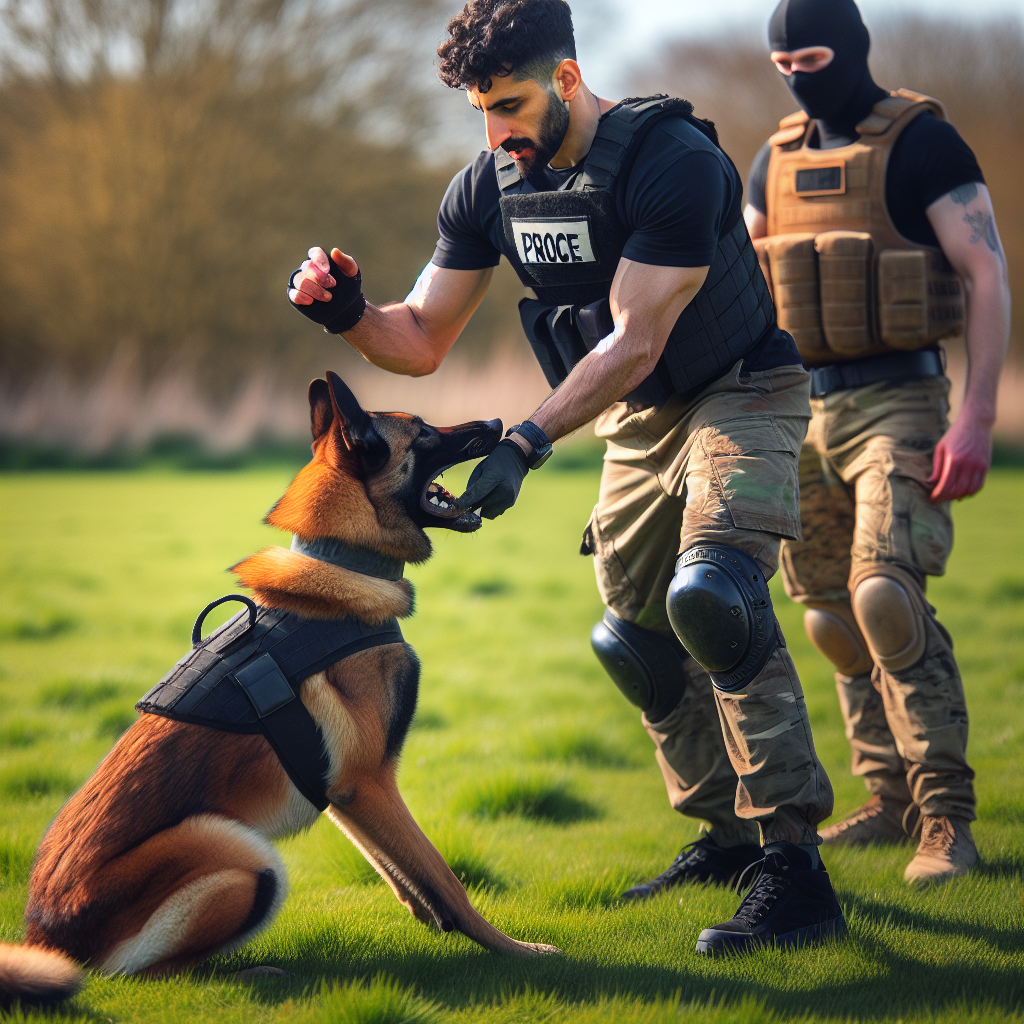
Many handlers think the sleeve is just a bigger toy. It is not. The sleeve introduces new textures, size, weight, and movement. It changes how the dog targets and how the handler and helper move. Transitioning from toy to sleeve is a staged process that protects the dog’s confidence while raising standards for grip, channeling, and obedience.
- The aim is a full calm bite with deep commitment.
- The dog learns to drive into the target, then settle and counter when the sleeve becomes still.
- The out command remains clean and conflict free.
- The dog returns to neutral quickly and is ready to work again.
The Smart Method Framework
Every step of transitioning from toy to sleeve is mapped through the Smart Method at Smart Dog Training.
Clarity
Clear markers and cues tell the dog exactly when to take, when to hold, when to out, and when to finish. We use consistent verbal markers for yes and good, paired with the out command and the release to heel or place. Sleeve presentation also carries meaning. The dog learns that an active sleeve invites the bite and a dead sleeve means hold or out depending on cue.
Pressure and Release
We apply fair guidance, then remove it the instant the dog makes the right choice. A steady line, well timed footwork, and a neutral helper are part of this. When the dog outs on cue, the pressure vanishes and the dog receives praise or a quick rebite in the right cases. This is how accountability grows without conflict while transitioning from toy to sleeve.
Motivation
Rewards keep the dog engaged. We use prey movement, rebites, and calm praise. The dog learns that calm behaviour and deep gripping make the game continue. The result is a dog that wants to work and loves the rules.
Progression
We layer in distraction, duration, and difficulty step by step. From tug to wedge to bite pillow to soft sleeve to a firmer sleeve. We increase movement and add mild pressure only when each step is solid.
Trust
Handlers and helpers keep the rules stable and fair. The dog trusts the process. That trust is what gives you confident work under pressure and smooth outs without conflict.
Readiness Checklist Before Transitioning From Toy to Sleeve
Before you start transitioning from toy to sleeve, confirm these behaviours on a tug or wedge. A certified Smart Master Dog Trainer can test and verify each point with you.
- Engagement on command with fast commitment to the target
- Full mouth grip with quiet hold for at least five to ten seconds
- Calm counters when the toy goes still
- Clean out on a single cue with minimal help
- Rebite on cue without snatching or chattering
- Focus returns to the handler after the out
- Orientation to the target hand, not random grabbing
- Starts and stops without vocal frustration
- Comfort working on line and in a harness
Equipment For A Clean Transition
To support transitioning from toy to sleeve, Smart Dog Training uses a deliberate equipment progression.
- Soft tug for grip habit and play rules
- Angled wedge for better jaw position and targeting
- Bite pillow as the bridge to sleeve feel and surface area
- Soft puppy sleeve as the first sleeve stage with easy compression
- Intermediate sleeve once the dog shows deep, calm commitment
- Firm trial sleeve only after all mechanics are locked in
- Proper long line and harness for safe control
The goal is a stable picture so the dog can transfer learned skills to the sleeve without confusion.
Handler And Helper Roles
Transitioning from toy to sleeve relies on clean teamwork. At Smart Dog Training we coach both roles so the dog sees the same picture every time.
Handler Mechanics
- Hold the line steady without jerks
- Move your feet to create angles and keep the dog safe
- Give markers on time and in a normal tone
- Reset the dog to heel or place between reps
Helper Presentation
- Neutral body when the dog should hold
- Active sleeve to invite the bite on cue
- Maintain a consistent target and allow a full mouth grip
- Stop movement to invite a calm counter, then reward with a rebite when earned
These standards do not change when transitioning from toy to sleeve. Consistency keeps the dog confident and accountable.
Phase One From Tug To Bite Pillow
This is the bridge. The bite pillow moves like a toy but feels closer to a sleeve. It gives room for a full bite and teaches the dog to drive forward into the target.
- Warm up with a short tug to confirm grip and out.
- Switch to the bite pillow. Present it low and slightly angled so the dog fills the pillow.
- Mark the bite as the dog commits. Allow a few steps forward to load the bite.
- Go still. Reward a calm counter by bringing a short burst of movement and then still again.
- Give the out. Line goes slack the moment the dog releases. Praise and either heel away or give a planned rebite.
Criteria to move on
- Full mouth grip without rolling every time
- Quiet hold for five to ten seconds on a dead pillow
- Out on cue with minimal help
- No mouthing, spitting, or grabbing clothing
Phase Two Introducing The Sleeve Without Loss Of Clarity
Now we start transitioning from toy to sleeve. The first sleeve sessions are simple and calm. We keep the dog successful and protected.
- Start with the bite pillow for two clean reps.
- Switch to a soft sleeve but treat it like a pillow. The helper stands square, elbow tucked, sleeve slightly angled and low.
- Cue the bite once. Allow the dog to drive in and load the grip. Keep movement minimal.
- Go still. Watch for a calm counter. Mark and bring light movement to reward the behaviour.
- Give the out. The instant the dog releases, reduce pressure and praise. Handler heels the dog away to reset.
We do not rush to big movement, flashy catches, or handler pressure. The dog should think I know this picture. I know the rules. That is the heart of transitioning from toy to sleeve in the Smart Method.
Building Full Mouth Grips On The Sleeve
- Present the sleeve slightly across the dog’s line so the mouth can open and fill
- Use slow movement to keep the head low and forward
- Stop and let the dog settle into the grip then reward with a short surge of energy
Teaching Out And Rebite With Clarity
- One cue for out, delivered once
- Line goes neutral at the release, followed by praise
- Rebite comes as a reward for a calm, clean out, not for spitting
Managing Arousal And The Off Switch
High drive dogs can become hectic during transitioning from toy to sleeve. That is why Smart Dog Training uses a clear off switch.
- Place or heel between reps
- Neutral posture from helper when the dog should settle
- Calm praise for self control
- End the session while the dog still wants more
This approach keeps the dog willing and focused without flooding or frustration.
Progression Plan For Transitioning From Toy To Sleeve
Here is a simple plan used by Smart Dog Training to make transitioning from toy to sleeve smooth and reliable. Do not advance until each step is solid for several sessions.
- Stage A two sessions per week. Bite pillow only. Goal full grip, dead hold, clean out.
- Stage B two sessions per week. One or two pillow reps then soft sleeve for one to three reps. Goal same behaviour on sleeve.
- Stage C three sessions per week. Soft sleeve only with short movement. Goal clean counters, confident regrips, steady out.
- Stage D two sessions per week. Intermediate sleeve with movement and mild pressure. Goal grip quality under motion and handler control.
- Stage E weekly proofing. Add distractions and varied surfaces. Goal the same rules anywhere.
Adding Movement And Mild Pressure
Once the grip and out are clean, we add measured movement and then mild pressure. In the Smart Method, pressure is never chaos. It is a planned picture that the dog can win by following known rules.
- Movement first. Quarter turns, short steps, and a small circle to keep the dog in a safe arc.
- Then mild pressure. Helper posture becomes a little taller and more present. The dog is rewarded for staying deep and quiet.
- Breaks often. Reset to heel or place to keep arousal balanced.
Transitioning from toy to sleeve should keep the dog confident even as difficulty rises. If the dog shows anxiety or frantic energy, we step back to the last successful level and rebuild.
Distraction, Duration, And Distance
We proof once the basics are steady.
- Distraction. Add a second person standing nearby, a new field, or a gentle noise. The dog earns the bite for focus.
- Duration. Increase the dead hold time slowly from five seconds to ten to fifteen.
- Distance. Add a small approach before the bite so the dog can target the sleeve from a few steps out.
Keep the same cues and the same rules. That consistency is why transitioning from toy to sleeve under Smart Dog Training holds up anywhere.
Common Problems And Fixes During The Transition
Here are the issues we see most when transitioning from toy to sleeve, with the Smart Dog Training fix for each.
- Shallow bite. Slow the presentation, lower the target, and let the dog open wider. Reward counters when still.
- Chewing or chattering. Reduce movement and reward a quiet hold. End the rep after ten seconds of calm.
- Slow or sticky out. Give only one cue. The instant the dog releases, remove pressure and praise. Rebite sometimes to reward a clean out.
- Grabbing clothing. Tighten criteria. Present only the sleeve and step away if the dog loses focus. Deliver the bite only when the eyes are on the target.
- High vocal arousal. Shorter reps, longer breaks on place, and calm handling. No shouting and no frantic motion.
- Loss of interest on sleeve. Return to bite pillow for confidence, then reintroduce the soft sleeve with easy wins.
Safety, Ethics, And Accountability
Protection work is serious. Transitioning from toy to sleeve must be fair for the dog and safe for people. Smart Dog Training makes safety part of every rep.
- Proper line handling and a well fitted harness
- Clear field setup with space and safe footing
- Helper posture that protects the dog’s neck and back
- Stop the session at the first sign of confusion or stress
We build responsibility with pressure and release, not with conflict. We reward calm, deep grips and clean outs. This is how you create willing, accountable behaviour that lasts.
When To Seek Professional Support
If you are unsure about mechanics, timing, or reading your dog, get hands on coaching. A certified Smart Master Dog Trainer can run the session and keep your progress on track. Ready to turn your dog’s behaviour around? Book a Free Assessment and connect with a certified Smart Master Dog Trainer available across the UK.
Step By Step Session Template
Use this simple pattern when transitioning from toy to sleeve. It keeps each rep safe, clear, and productive.
- Warm up. Heel or place work for focus. One crisp out on a tug.
- Primary reps. Two clean bites on a bite pillow. Mark, hold, counter, out, and praise.
- Sleeve reps. One to three controlled sleeve bites with minimal movement. Hold to ten seconds if calm.
- Rebite plan. Offer a rebite only after a perfect out. Keep it short and successful.
- Cool down. Heel away, place, and calm petting. End with the dog settled.
Skill Goals That Prove Readiness To Advance
- Ten consecutive reps with full mouth grip on sleeve
- Out on one cue with zero conflict for five sessions
- Calm counter within two seconds of stillness
- Return to heel within three seconds after out
- Same behaviour in two different locations
When these are complete, you can add more movement, distance, and mild pressure. Transitioning from toy to sleeve will now feel easy for your dog because the rules are clear and consistent.
How Smart Dog Training Keeps Progress On Track
The Smart Method brings structure to each stage so your dog does not backslide.
- Clarity. One cue per action and precise markers.
- Pressure and Release. Instant relief for correct choices.
- Motivation. Real rewards for calm gripping and clean outs.
- Progression. Intentional steps from pillow to sleeve to proofing.
- Trust. Sessions end with the dog winning and wanting more.
This is why transitioning from toy to sleeve under Smart Dog Training delivers reliable results for families and sport handlers across the UK.
FAQs
What age should I start transitioning from toy to sleeve
There is no fixed age. We move when the dog shows strong engagement, a full calm grip on a pillow, and a clean out. Many dogs are ready between eight and fourteen months. An SMDT will assess your dog’s structure and maturity first.
How do I stop chewing on the sleeve during the transition
Reduce movement, go still, and reward a quiet hold. Mark and bring a short burst of motion after a calm counter. If chewing continues, step back to the bite pillow for a few sessions.
What if my dog will not out on the sleeve
Rebuild clarity. One cue for out, no repeats. The instant the dog releases, reduce pressure and praise. Reward a clean out with a planned rebite at times. If conflict appears, end the rep early and reset.
Why use a bite pillow before a sleeve
The pillow gives space for a full mouth grip and teaches the dog to drive forward into the target. It feels closer to a sleeve and makes transitioning from toy to sleeve smooth and confident.
Can I do this alone at home
You can build foundation skills on a tug and a bite pillow. For sleeve work and helper presentation, book guidance with Smart Dog Training. This protects your dog and speeds up progress.
How long does transitioning from toy to sleeve take
Most teams can complete the core steps in four to eight weeks with two to three sessions per week. The exact pace depends on grip quality, arousal control, and handler consistency.
Should I add verbal obedience during sleeve work
Yes, but keep it simple. Heel or place between reps, out on cue, and a calm finish. Do not crowd the dog with extra cues while the bite rules are still new.
What if my dog gets frustrated and vocal
Shorten reps, extend the breaks on place, and keep presentations simple. Praise calm moments and avoid frantic motion. If needed, step back to the pillow until the dog settles.
Conclusion
Transitioning from toy to sleeve is not a jump. It is a planned series of steps that build confidence, deep gripping, and clean obedience. The Smart Method makes each step clear. You will see full mouth grips, easy outs, and a dog that switches off as fast as it switches on. If you want expert coaching, Smart Dog Training has certified professionals ready to help. Your dog deserves training that truly works. With certified Smart Master Dog Trainers SMDTs nationwide, you will get proven results backed by the UK’s most trusted dog training network. Find a Trainer Near You


